What is File Editor and How to Use It: A Simple Guide to Preparing Print-Ready Files
July 23, 2026
File preparation is one of the longest processes in prepress, especially if you still don’t master the basics. It happens that a design looks great on your computer screen, but once attempting to print, you detect printing and cutting errors that can dismantle your whole production.
To illustrate this, you might notice a missing cut contour, incorrect PDF boxes, or your file might contain additional information that is not necessary for the well-functioning of your production. Caldera PrimeCenter helps you improve your file preparation procedures and save time.
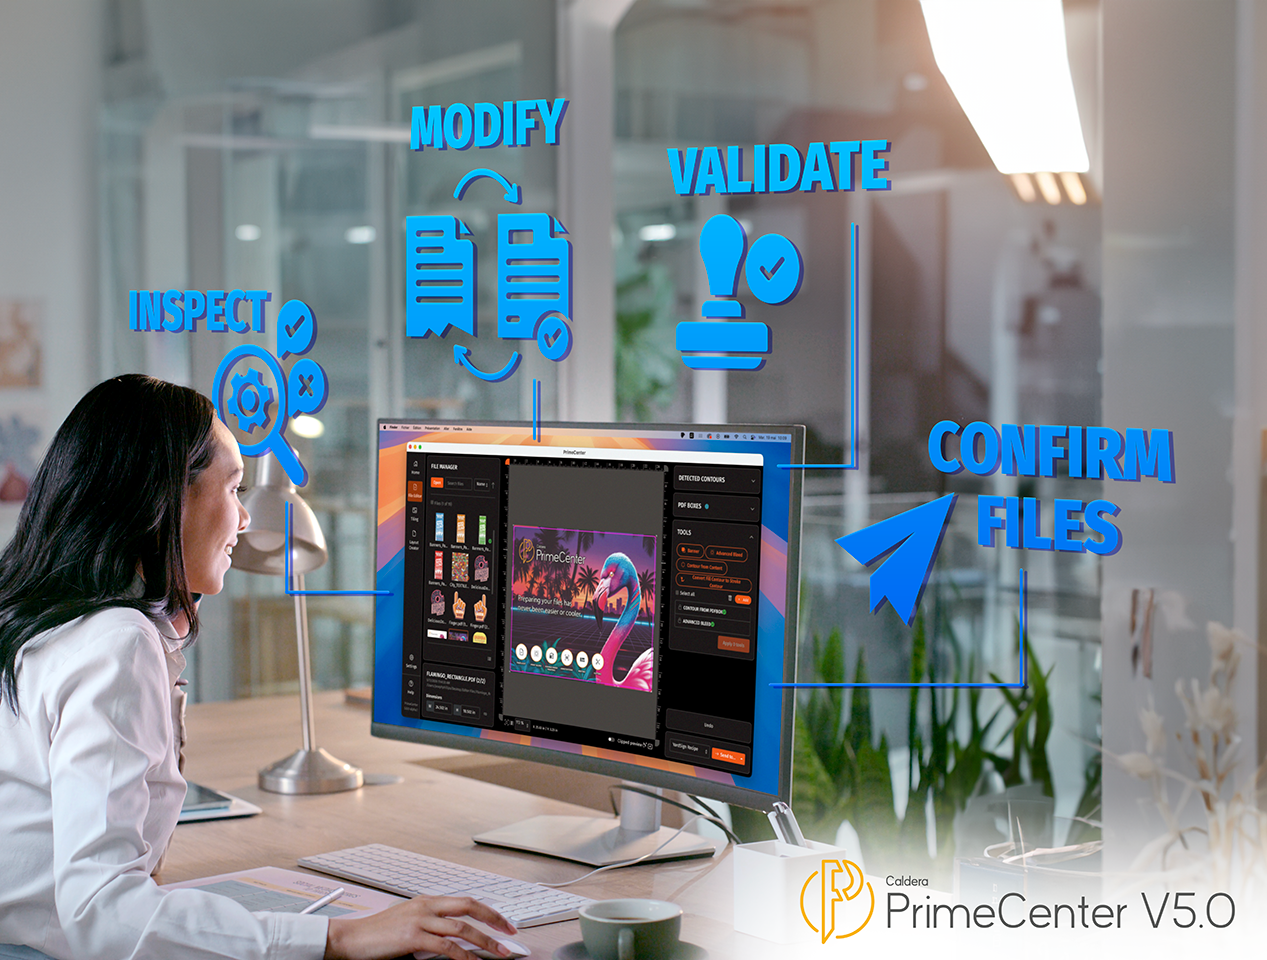
For over two months, it has been known as File Inspector, and with the release of PrimeCenter 5, it is now known as File Editor. You’re probably asking yourself, what does File Editor mean? It is a dedicated workspace where you can inspect, edit, and prepare files before you send them to production. You won’t have to use different applications and tools to fix one file. File Editor allows you to do everything in one single place.
You can use File Editor for packaging, labels, signage, digital printing, or large-format printing. It is a strong asset that helps you create accurate, print-ready files faster while reducing mistakes. In this article, we will introduce you to the steps you need to use File Editor.
Where Can I Find File Editor?
Where can you access File Editor? PrimeCenter makes it simple to access and use File Editor.
- You can simply click on an icon in the left navigation menu once you open PrimeCenter.
- Once done, you will see a workspace specifically built for file preparation and to make the process easier.
- You will find everything you need in organized, clear sections.
- You can:
- Import files
- Check designs
- Edit file settings
- Export the final result
You can think of File Editor as a tool for your print files. Instead of going back and forth between different applications trying to fix files, you will do everything in one single place.
Import Files and Start Experimenting
To start experimenting with File Editor, the first step is importing your design file. As it is mentioned on the PrimeCenter webpage, the software supports many file types used in the printing industry, including: PDF, AI, EPS, SVG, JPEG, PNG, PSD, PSB, and TIFF.
For example, imagine your designer sends you a logo as an AI file, while another customer provides a PDF for packaging, and someone else uploads a PNG banner.
You can open all of these files inside File Editor without changing software. Once you import your file, PrimeCenter will display it in the studio so you can start making changes and reviewing it immediately.
Save Time with Automatic File Optimisation
This is one of the best features of File Editor. It can automatically improve your files while they are being imported. PrimeCenter is built to reduce manual fixes and can perform several actions in the background in the most automatic way possible. For instance, it can:
- Fix PDF boxes
- Omit unnecessary information from the file
- Prepare clipping paths for true shape nesting
To put it simply, imagine you receive fifty customer files every morning. You usually open the files and correct them one by one, but you know this takes hours, and you won’t finish until the day is over.
When using automatic import actions, you can see those corrections done immediately without too much effort. This gives you more control over your printed files and more time to focus on the files that matter most.
File Editor is the tool you didn’t know you needed, and it comes at a time when prepress is becoming more and more automatic.
Explore Your File in the Studio
The studio in PrimeCenter is where your files appear and can be processed. It will look like you’re looking at your files under a magnifying glass. It’s possible to zoom in to inspect small details that you can’t see or zoom out to see the entire form of the design. Moreover, you can fit the design to your screen, adjust the view, change the background colour, and display important production elements like cut contours and PDF boxes.
For example, imagine you’re working on a sticker design with very thin cutting lines. You can zoom in closely and confirm that everything is correctly lined up before sending it to print.
Preview Exactly What Will Be Printed
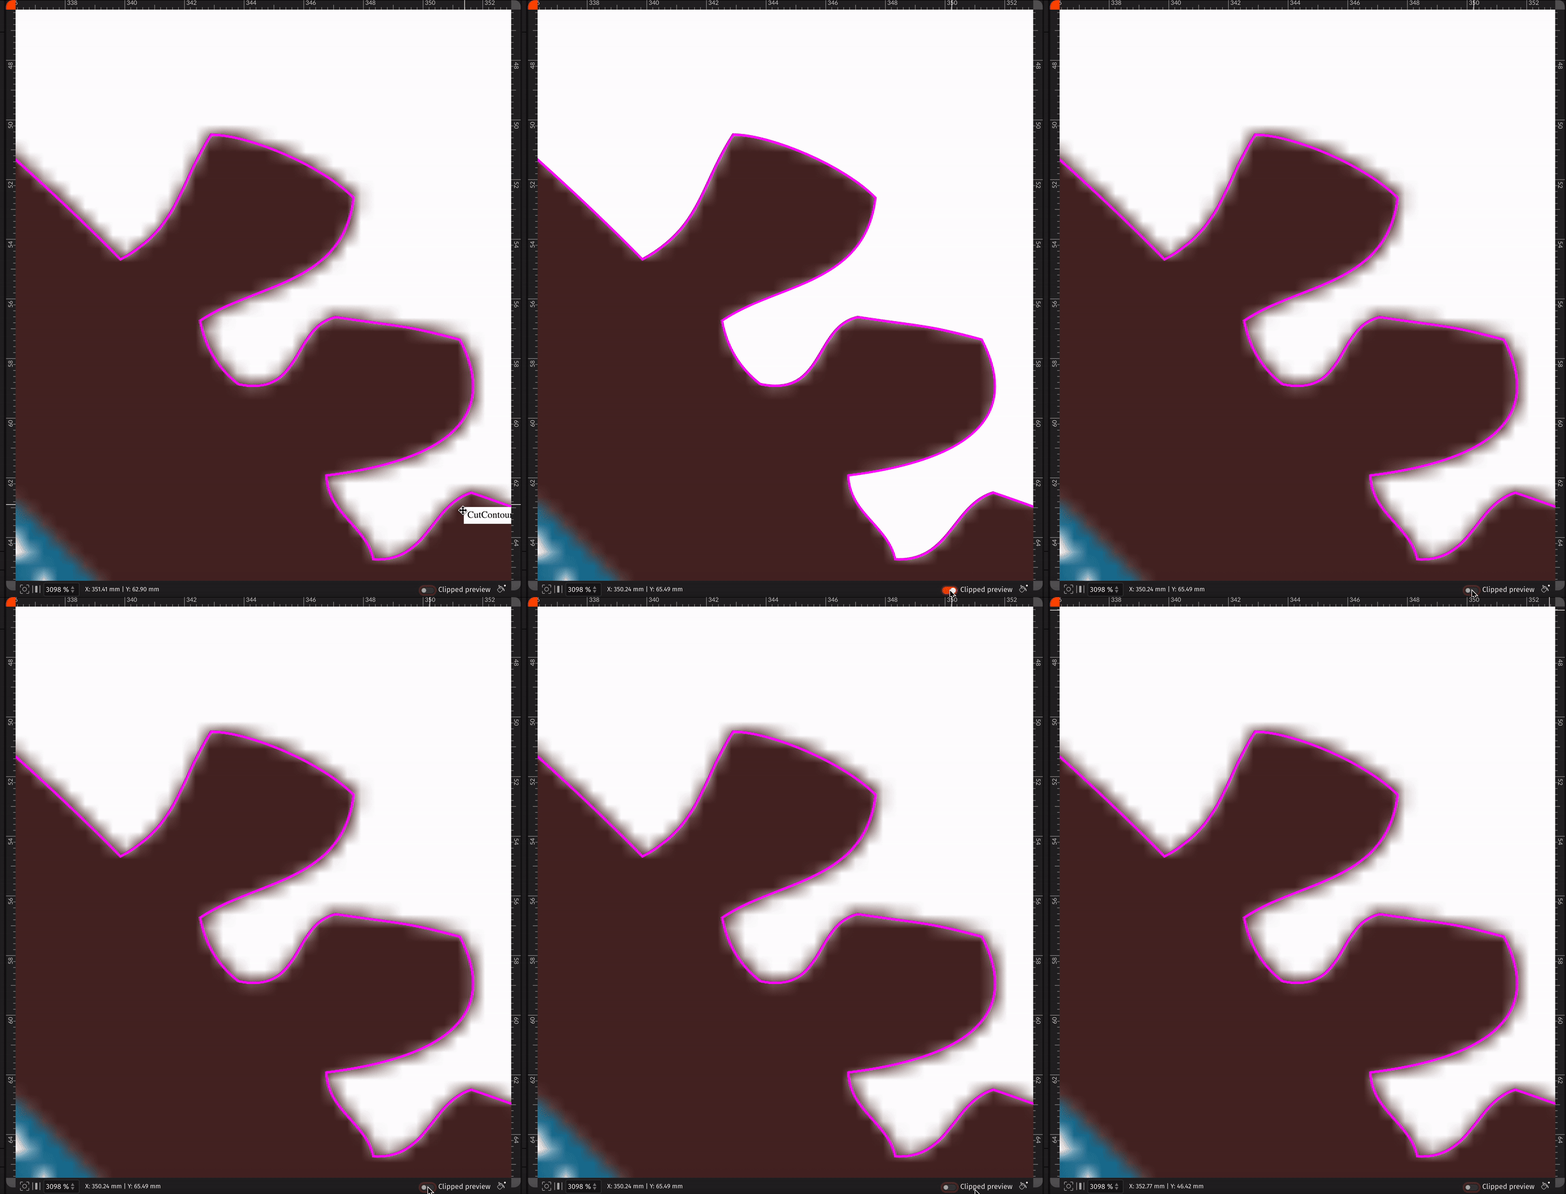
Sometimes a design contains a design that extends beyond the final cutting line. This extra artwork is important for printing, but it can make it difficult to imagine what the finished product will actually look like. PrimeCenter includes Clipped Preview.
When enabled, Clipped Preview temporarily hides everything outside the cut contour. This gives you a realistic preview of the final product without changing the original design.
Imagine you’re printing custom-shaped labels. The artwork extends beyond the cutting line to create bleed, but the customer only wants to see the finished label shape. Clipped Preview lets you see exactly that.
With Clipped Preview:
- You can see the final product shape more clearly.
- Everything outside the cut contour is temporarily hidden.
- Your original artwork remains completely untouched.
Check Cut Contours
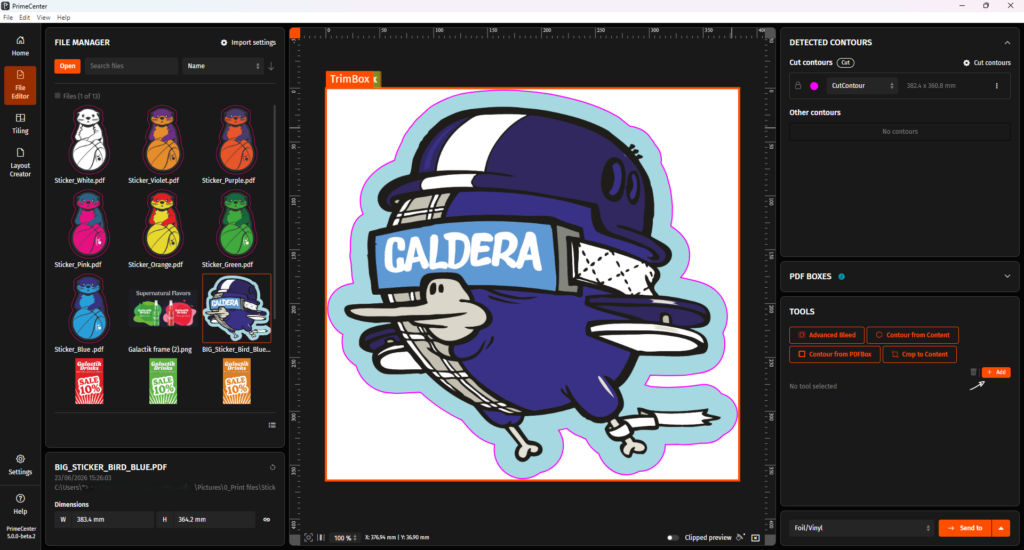
A cut contour is simply a line that tells a cutting machine where to cut the material. Without the existence of a cut contour, the machine will not be able to know the shape of the final product.
Without it, a cutting machine doesn’t know the shape of the final product. For instance, let’s say you’re printing a star-shaped sticker, so the machine has to know that it has to cut around the star after printing it. And to do this, you need a cut contour.
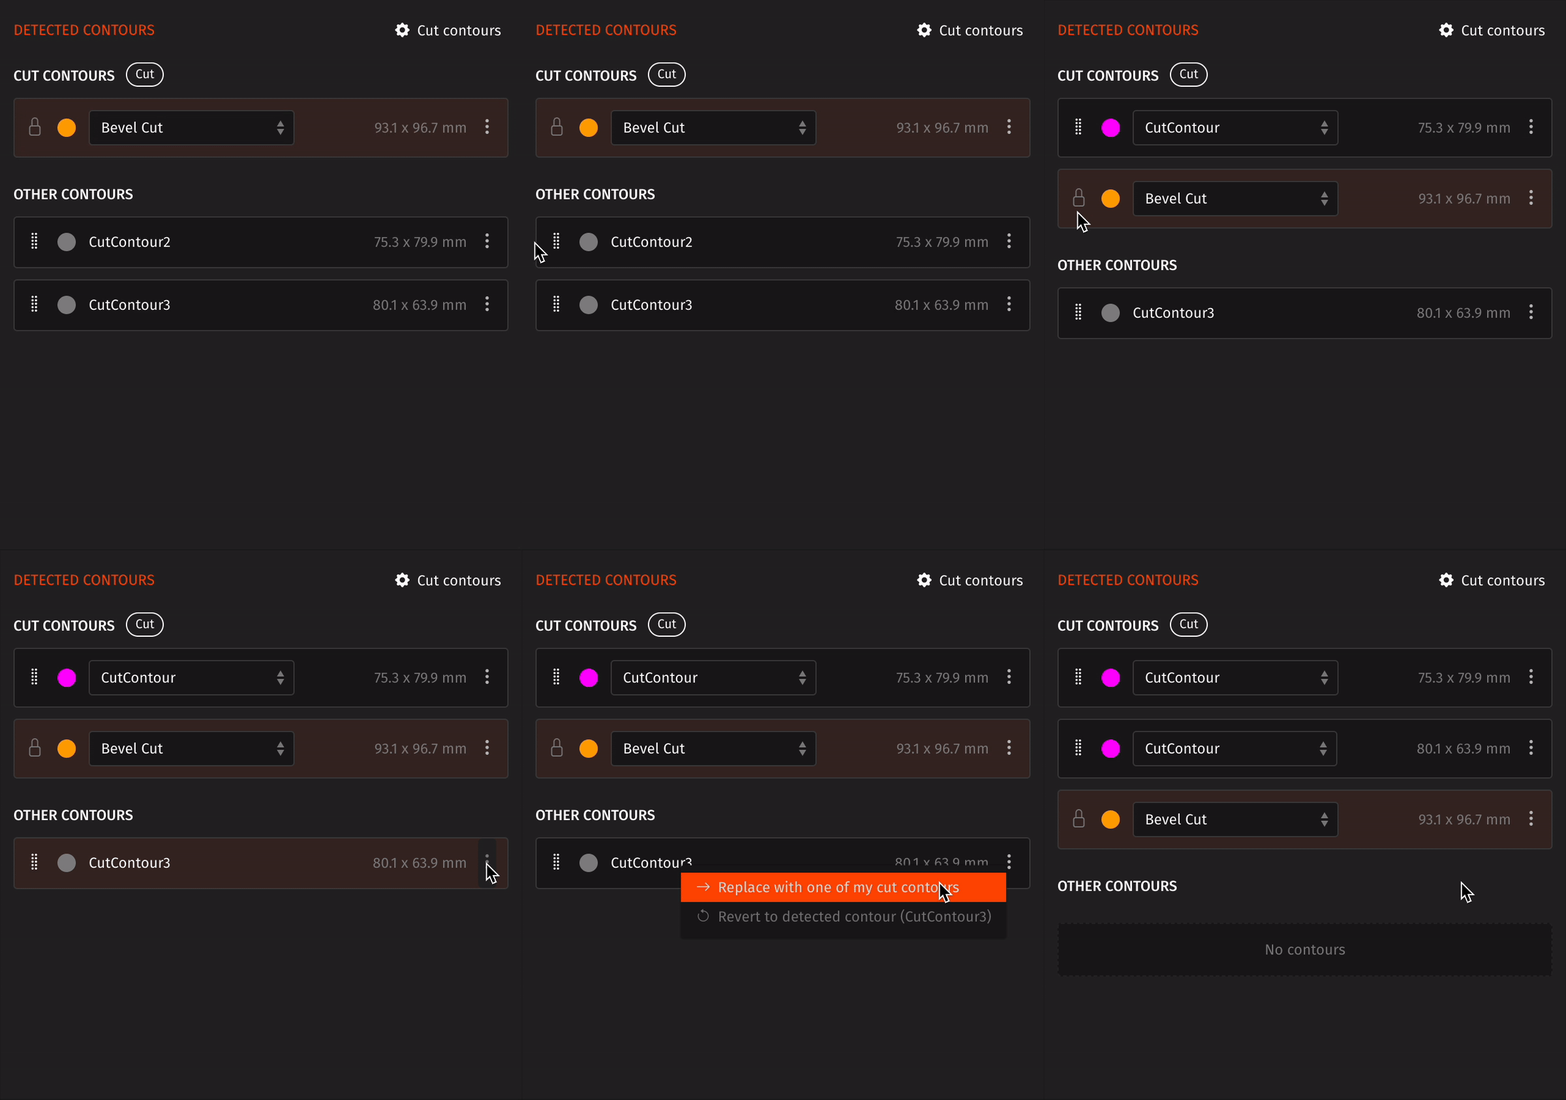
PrimeCenter automatically tries to detect your file’s cut contours as soon as you open it. If it finds recognised cut contours, they’ll appear in the cut contour section. If it finds other paths that don’t match the expected naming, they will appear separately so you can review them.
This makes it easier for you to:
- Identify mistakes before you start production.
- Review paths that don’t match the expected naming.
- Make sure the correct cut contours are detected before printing.
Create Missing Cut Contours
Another problem that printers face is that some files do not contain a cut contour at all. Imagine a customer sends you a simple rectangular business card saved as a PDF. The design looks more than fine to you, but there is no information about cutting.
What printers usually do is return to Adobe Illustrator and create a new contour there. Using PrimeCenter, you can generate one directly inside File Editor using:
- The page content
- The PDF box
This means that you can continue working on every task without leaving PrimeCenter.
Edit File Dimensions
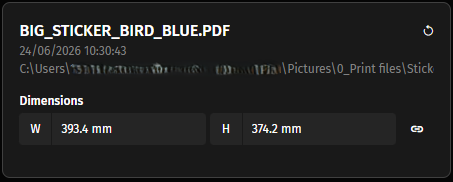
It also happens that the design size does not meet the printing process’s requirements. It can happen that the customer accidentally creates a document that’s 102 mm wide instead of 100 mm.
With File Editor, you can asjust dimensions automatically without leaving the software. PrimeCenter updates the CropBox or MediaBox, depending on the file, making it much easier to prepare artwork for production.
This is especially useful when customers accidentally add extra white space around their artwork.
Understand PDF Boxes
PDF boxes can be referred to as invisible guides inside your file. They inform prepress software where the design starts, where it ends, where trimming happens, and where bleed should be. If these guides are wrong, the final result might look different. PrimeCenter clearly displays every PDF box so you can see exactly what’s happening.
You can:
- Resize them
- Reposition them
- Create missing ones if necessary
For example, if a customer forgets to include a TrimBox, you don’t have to reject the job. You can correct it directly inside File Editor and continue with your production.
Edit Files Using the Tools Panel
PrimeCenter V5 introduced one of the biggest improvements to File Editor, and it’s called the Tools panel. The procedure now does not stop at checking files; you can edit them directly. Using the Tools panel is simple and requires little learning. Choose the tool you need, adjust the settings, and apply it to your file.
For example, you might optimise a PDF, create missing contours, fix artwork positioning, or apply several edits together. Once a tool finishes, PrimeCenter immediately tells you whether everything worked correctly.
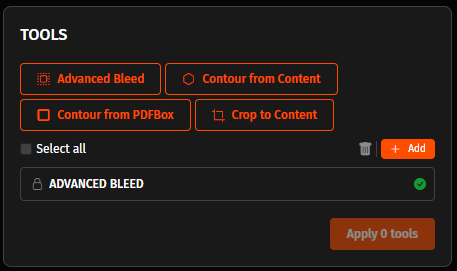
If you see a green check mark, it means the action was successful and that you can proceed with the next steps.
On the other hand, if something needs attention, you will see a warning so you know exactly what to review.
Undo Mistakes Without Starting Again

Mistakes go hand in hand with large-format production. You can apply the wrong setting or adjust the wrong contour. Instead of taking more time to import the file again and start from scratch, PrimeCenter allows you to undo recent changes to your file.
It’s possible to undo up to 20 actions, including edits made with tools, contour changes, and PDF box adjustments. And if you want to start again, you can simply click the Reset button. In this way, you can restore the original file instantly, which will save you time and frustration.
Export Your Finished File
Once you have edited your files and applied the changes you want, it’s now time to move them to production. PrimeCenter 5 offers several ways to continue the process:
- Export the file as a standard print-ready PDF.
- Send it directly to an existing PrimeCenter recipe.
- Create a brand-new recipe for that specific job.
The good news is that you will spend less time moving files between applications and give more attention to the final result and how it should look.

Why Print Professionals Choose PrimeCenter File Editor
When working in prepress, you can’t always find a simpler way to do things faster and without complications. File Editor in PrimeCenter combines several tasks into one easy-to-use workspace:
- File inspection
- Editing
- Contour management
- PDF box editing
- Production preparation
You don’t need to switch between applications or tools.
You can use it to fix one customer file or process hundreds every day. It is software that helps you reduce manual work, improve consistency, and minimise production errors. PrimeCenter provides you with the tools and steps you need to treat files faster and smarter:
- Check PDF files
- Correct cut contours
- Manage PDF boxes
- Prepare designs for automated workflows
Interested in PrimeCenter 5?
Contact us to learn more about PrimeCenter and File Editor. You can also schedule a demo to see File Editor in action.
Related articles