How to Press DTF Transfers? Watch Caldera’s Team in Action
August 28, 2025
Caldera recently hosted a breakfast workshop called ‘Heat and Eat’, designed to immerse the team in the world of DTF (Direct-to-Film) heat pressing. The goal? To break down the technical aspects of the process and build real experiences. This article will walk you through the detailed steps of pressing DTF transfers, minus the breakfast part. But, whether you’re applying a transfer today or months from now, you’ll find all the essential steps and requirements right here. Caldera continues to deliver the terminology you need in order to start or improve your DTF printing business.
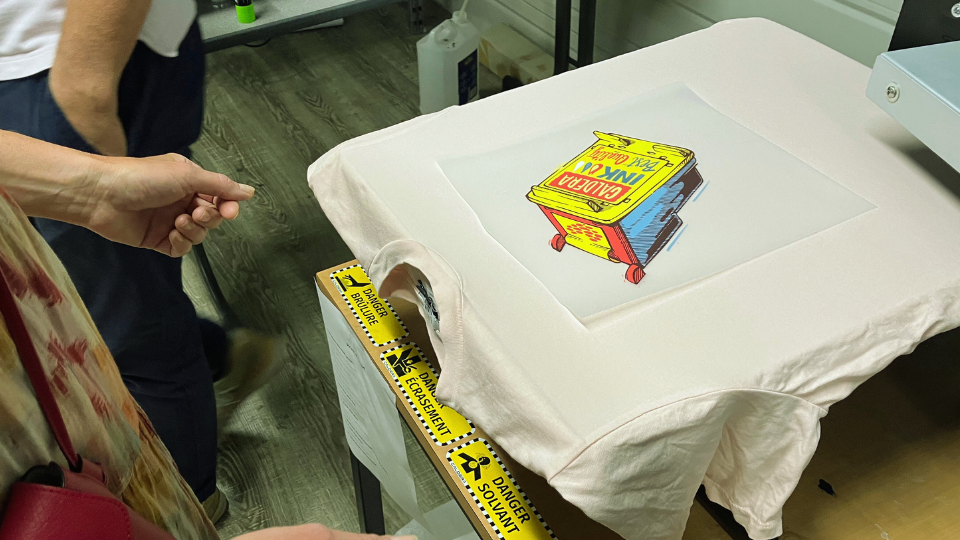
Table of contents
What is a DTF Transfer?
As explained in one of our articles, a DTF transfer is a transparent or semi-transparent film that you can use to transfer your design onto fabric. The DTF transfer is very flexible and allows you to speed up DTF productions. However, in the beauty of it all, you will need to learn how to press them. The DTF transfer requires heat pressing in order to put the design on a T-shirt or any other garment.
Your Starter Kit: Everything you Need
Before you start, you can follow this checklist to make sure you will get accurate DTF prints.
- Make sure you clean the T-shirt, tote bag, or any other fabric you’re using to transfer the design. This is important to eliminate any dust or residue.
- Make sure your desk is clean before you begin
- Prepare your heat press, clean your platen, and make sure the heat press is working correctly
- Prepare your DTF film transfer
Steps to Press your DTF Transfers
To complete DTF pressing, printers go through different steps. To follow these steps correctly, certain technical criteria and rules must be followed. Caldera’s “Heat and Eat” breakfast workshop showcased these rules, and the team shares with you every single tip they learned. At the end, they managed to press their jobs and were happy with the results. Now, it’s your turn to customize your tote bag or t-shirt.
1- Temperature and DTF transfers
It is important to have the right temperature. That’s why you have to make sure that your press is set to 160 °C. In this way, you can be sure that your design will not receive a high or low temperature, as this may damage the final result.
2- Minutes or Seconds? How Long to Press
The length of your DTF pressing is also another important factor that contributes to accurate DTF printing. In DTF heat pressing, we talk about seconds. If you press longer, your DTF design might change or melt. You can set your press to heat for 20 seconds.
3- Garment Choice and Transfer Positioning
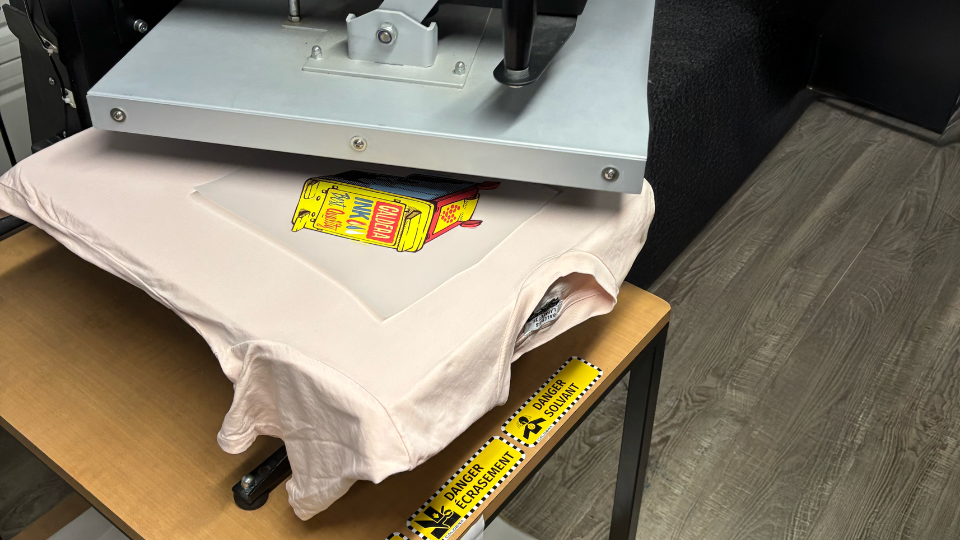
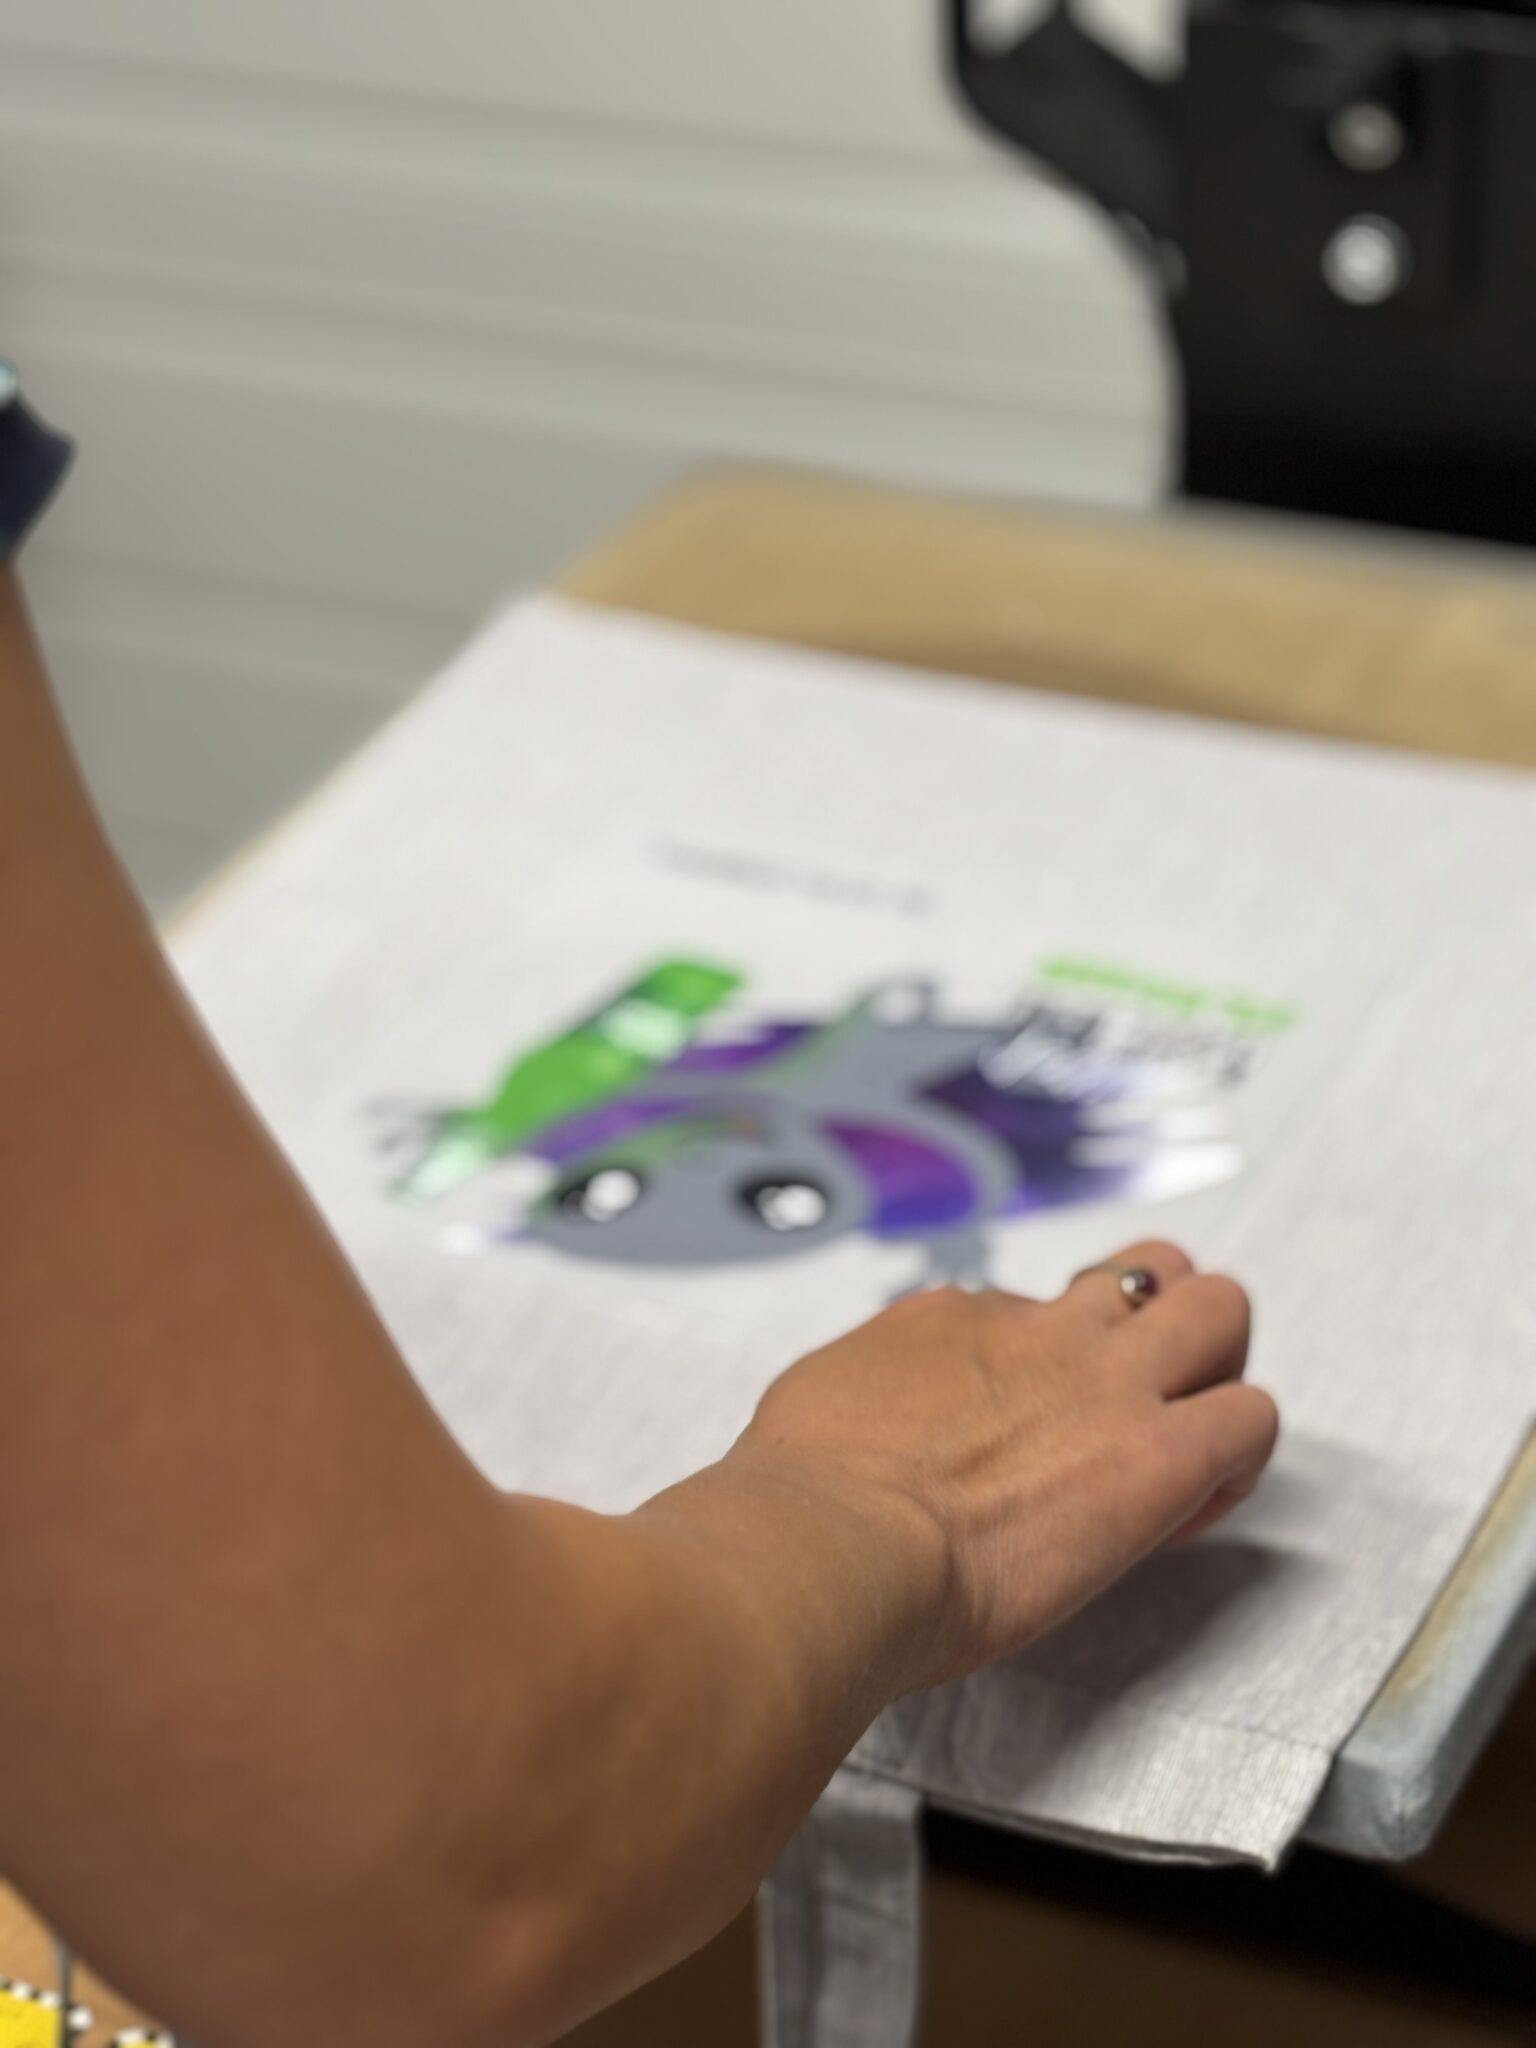
Choose your garment and its color. After this, you will have to position your DTF transfer where you want your design to appear. Make sure it’s correctly aligned. This step will show you approximately the final position of your design.
4- Start Pressing
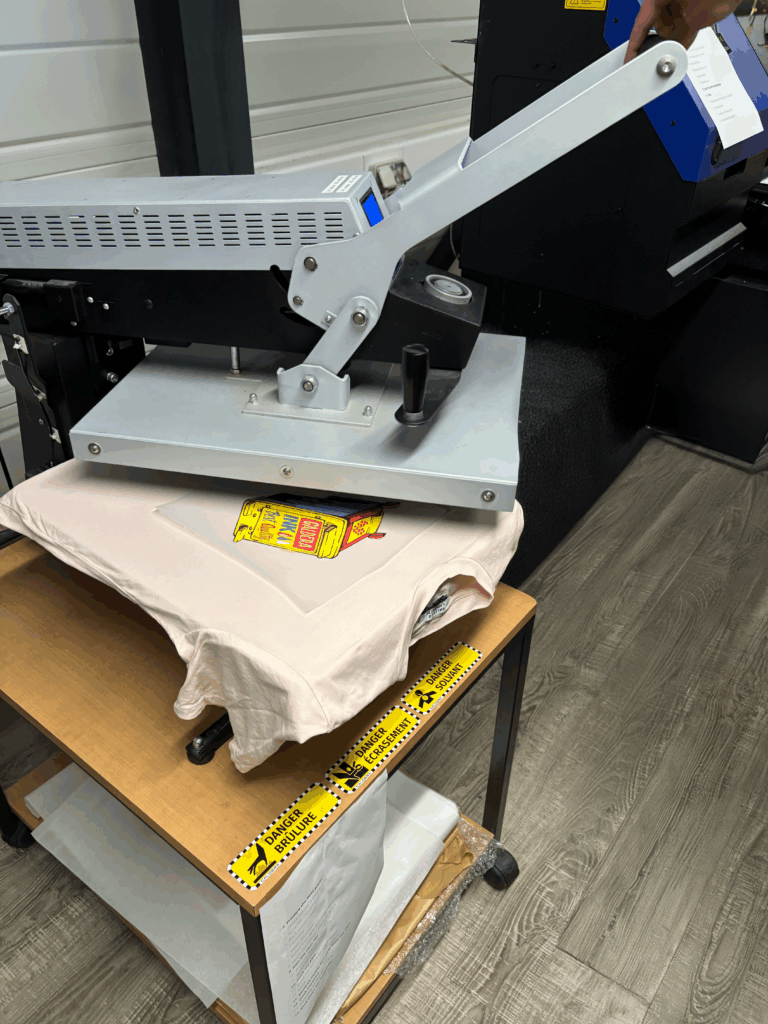
- Now, to prepare your garment and avoid wrinkles, you will have to heat press it for 7 to 10 seconds. This depends on the amount of wrinkles your garment has.
- Once it looks all smooth, you can place your DTF transfer on the position you have chosen before.
- Now, transport your garment with the DTF film positioned on it to the platen.
- Put down the press and schedule it to heat for 20 seconds.
- Once your film is heated for 20 seconds, your press will lift, and you can inspect your garment
- Remove your garment, and be careful not to touch the heated areas
Final Steps
- Remove the film slowly, and make sure that all the design is transferred. If you see some parts of the design that are still stuck to the DTF film, we recommend pressing it again.
- Now, you’ve got a beautiful design on your garment. But, we are not done.
- Put an empty transparent film on the design and press it again to guarantee its durability. You can follow the previous steps, but this time, you only need to press it for 10 seconds.
Common DTF Transfer Issues
Despite following all the steps, issues can occur. Caldera’s team shares with you all the tips to solve these problems and avoid them in the future:
- Misaligned or missing spots: This can occur if the pressure isn’t evenly distributed across the garment
- Some parts of the design do not transfer: In this case, you will have to increase the temperature. Make sure you apply accurate settings before pressing again.
- Your design has spots: This is because you didn’t clean and press your garment before transferring. Make sure your garment does not have any wrinkles or spots.
Ready to Heat and Press?
Caldera’s RIP software for DTF will help you get accurate designs and prints.
Related articles
