Ink, Sweat & Efficiency – Best Practices to Streamline Sportswear Printing
March 26, 2024
Sportswear is one of the most hotly contested areas in leisure apparel, both on and off the field. The stakes are high— you need to be able to produce garments that not only look good, but which can withstand the rigors of performance under pressure. All this efficiently, cost-effectively, and with as little waste as possible. In this article, we will explain the challenges of sportswear printing production, and give you practical tools to streamline your workflow.
What is Sportswear Printing?
Sportswear printing is the process of applying designs, logos or graphics onto various types of sportswear such as t-shirts, jerseys, hoodies, shorts, and other athletic apparel. Custom sportswear is a huge market that includes team apparel, warm-up gear, fan merchandise, branded clothing lines, fitness and workout gear, and many more. There are lots of opportunities for print services providers who can master the techniques involved.
Each printing method (screen printing, sublimation, Direct-to-Garment…) has its own advantages and limitations, making them suitable for different applications and requirements. However, digital textile printing has greatly evolved in recent years and is now the go-to method for high quality apparel, offering a vibrancy and level of detail which screen printing simply can’t match. It can be used on a vast range of fabrics, including silk, cotton, wool, linen, polyester and viscose.
Why pick digital printing for your Sportswear production?
There are several advantages to digitally printing directly onto fabrics:
- Flexible design options allow intricate and detailed printing in multiple colors and gradients. This is especially useful for team apparel and sportswear, where numbers, text and insignia need to be sharp and legible – and might need to be scaled for different garment sizes.
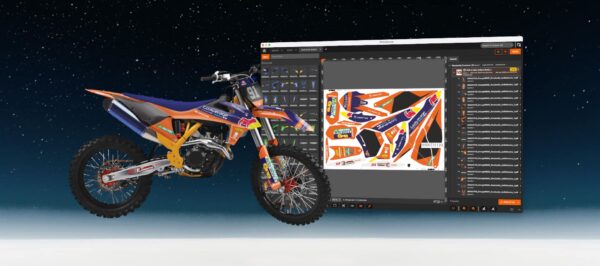
- The versatility of digital textile printing allows for a wide range of applications, enabling manufacturers to produce a full range of sporting apparel.
- Digital textile printing is cost-efficient and more adapted for on-demand personalized clothing, as it does not require a screen or printing plate setup. Digital printing makes small print runs more practical and delivers faster production times.
- Compared to screen printing, digital textile printing requires much less water, fewer chemicals and less energy to operate.
More flexibility, versatility, reduced costs and waste add up to making digital textile printing the most sustainable choice for personalized sportswear printing.
Challenges of Sportswear printing
Sportswear printing is not without its challenges, specifically due to the unique characteristics of athletic apparel.
- A lot of sports apparel could be considered high-tech– new fabrics that wick away sweat and contribute to performance are constantly being developed. There’s the challenge of printing on polyester, spandex, blends, or lycra-based textiles, scaling the designs and pattern pieces across a range of sizes, and minimizing wastage of what can be very expensive fabrics.
- As well as using expensive material, sportswear often demands very complex finishing processes, involving multiple pieces. It’s important that these pieces are kept grouped together, ready for assembly, to ensure cost-efficient production.
- Meeting the demand for customized sportswear within tight deadlines can be challenging, especially for large orders or complex designs. Efficient production processes and streamlined workflows are essential for meeting customer requirements while maintaining quality standards.
How to streamline your Sportswear production
If these are the challenges of producing sportswear, then PrimeCenter can be seen as the solution.
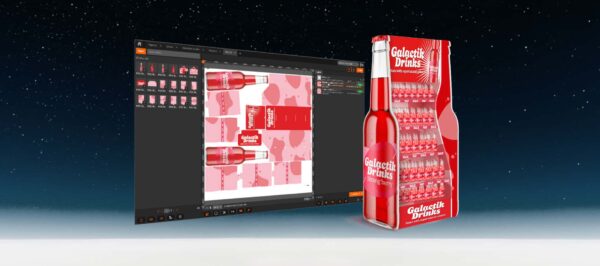
PrimeCenter is a prepress software designed to simplify the preparation of print & cut files. Located upstream of your production, PrimeCenter checks, corrects, sorts, groups and prepares files for production. It helps print service providers to cut down errors, reduce media waste and to increase their productivity.
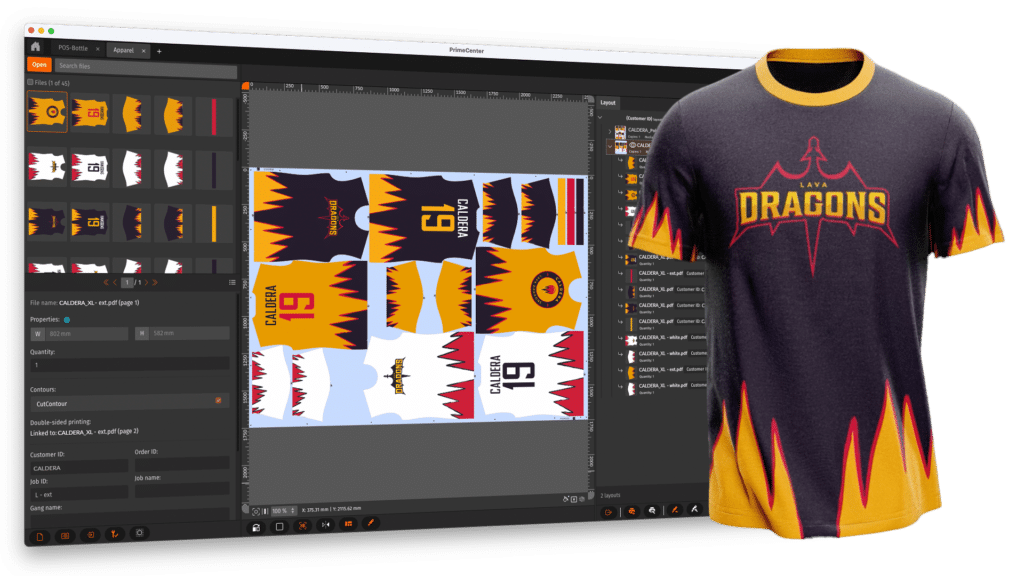
Used properly, our prepress solution is the key to streamline your entire production workflow. Once your apparel files have been approved by your customer(s), you can import them to PrimeCenter to prepare them and make them ready for printing, cutting and sewing.
In just a few steps, PrimeCenter transforms your proofing files into ready-to-print and ready-to-cut layouts!
There has been a tendency to view PrimeCenter as being primarily useful to print producers that work with cutters. But there’s far more to the program’s capabilities than just cutting— it can also be incredibly effective for producers that are hand trimming their apparel. For example, if a file contains a front, a back and sleeves, PrimeCenter can create cut contours for all the pieces, allowing the flatbed cutter to cut out the shapes automatically. But it can also create those contours just to use them as a reference for nesting, which means even for hand trimmers, it can create the most efficient layout to make the most of your expensive materials.
To summarize, PrimeCenter processes your files, creates the contours, separates the different elements into individual pieces and generates the most cost-effective layouts for printing and cutting. This entire process is usually done manually during the prepress stage, but if you consider all the manual nesting for each of the different sizes of garment that you will have to produce, PrimeCenter can help you make substantial savings, both in terms of labor and materials!
Use Case – How to prepare Sportswear files with PrimeCenter
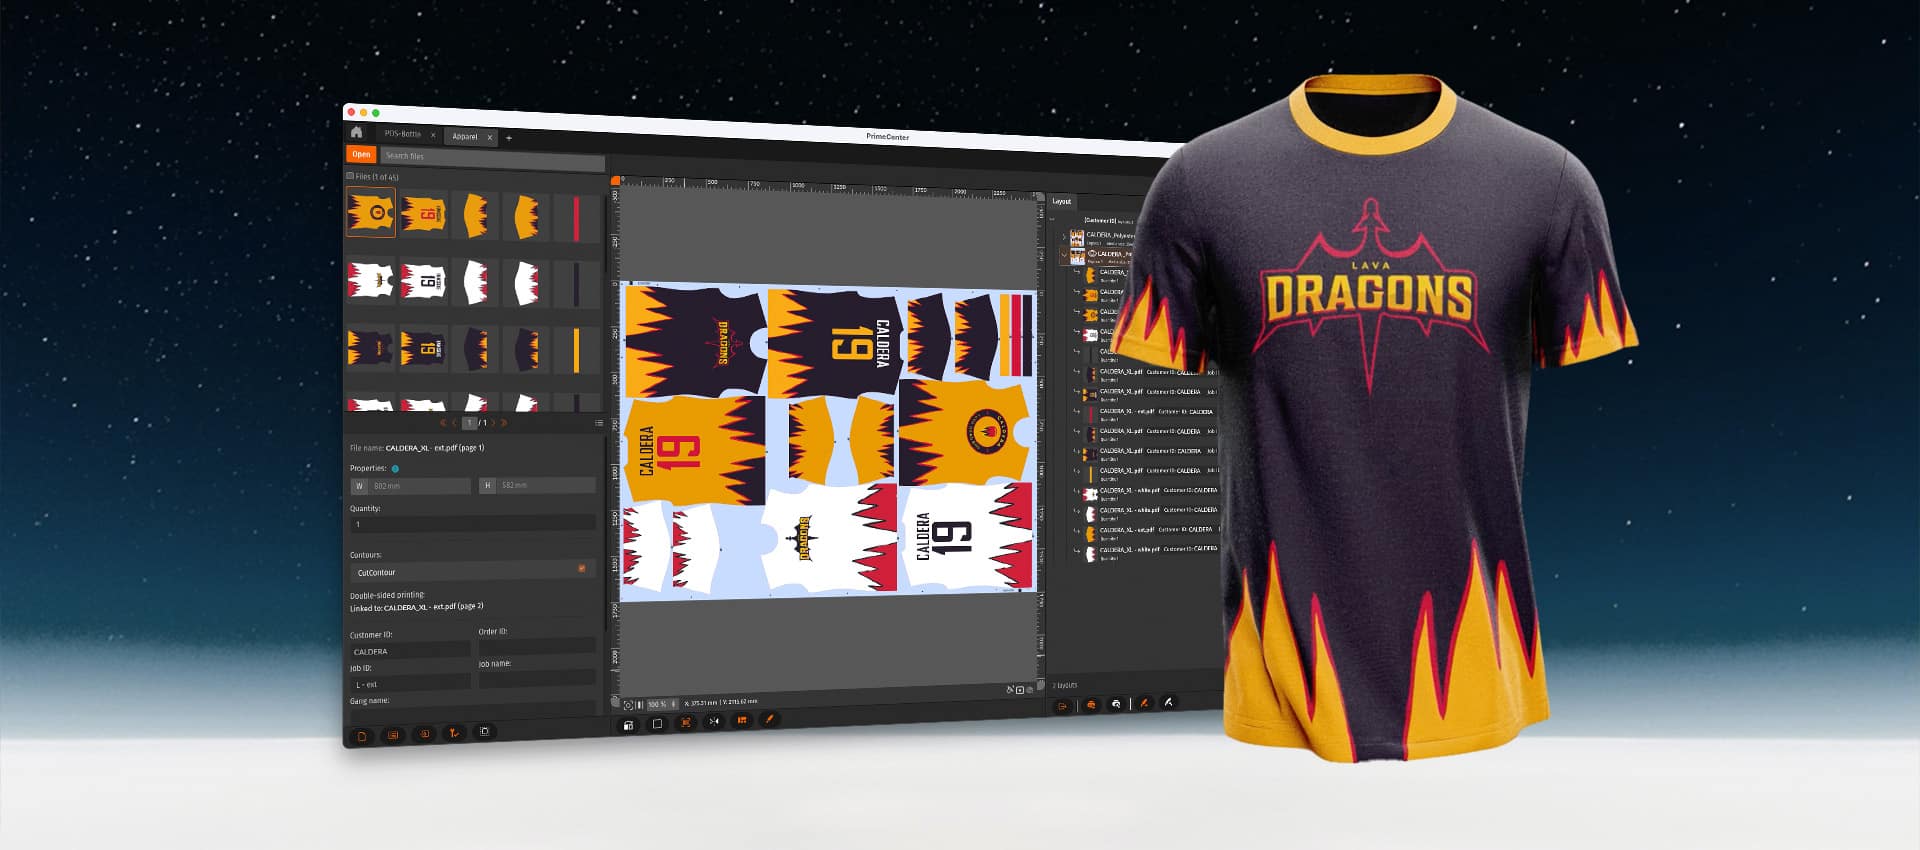
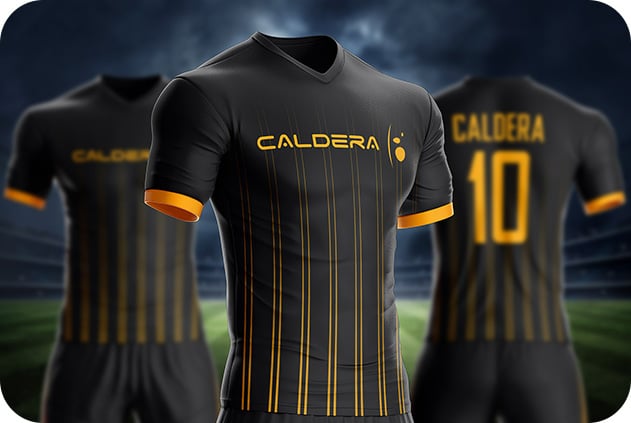
One of the best ways to illustrate how useful PrimeCenter can be is to set out an example. Let’s suppose we are creating a new set of apparel for a local team. The order is for 20 football jerseys, each in home and away colors, light and dark, and in multiple sizes – S, M, L, XL and XXL.
Let’s look at how PrimeCenter would handle it!
1. Check and correct the files
Using PrimeCenter always starts with an input hotfolder to import the files into the software.
Then, we setup the software to extract metadata from the filename (in this example, it would extract the size of the file and the number of copies needed). These metadata will be useful for sorting and grouping the files later.
Then comes preflighting, which is essential for checking PDF standardization and correcting common issues, such as missing cutting instructions, fonts, transparency, resolution, sizes, dimensions or color problems.
After that, we can apply some fixups to our file:
- To create cut contours for all the individual jersey pieces
- To automatically separate all shapes into individual files, which will make it easier for PrimeCenter to nest the pieces in optimized layouts in the next step.
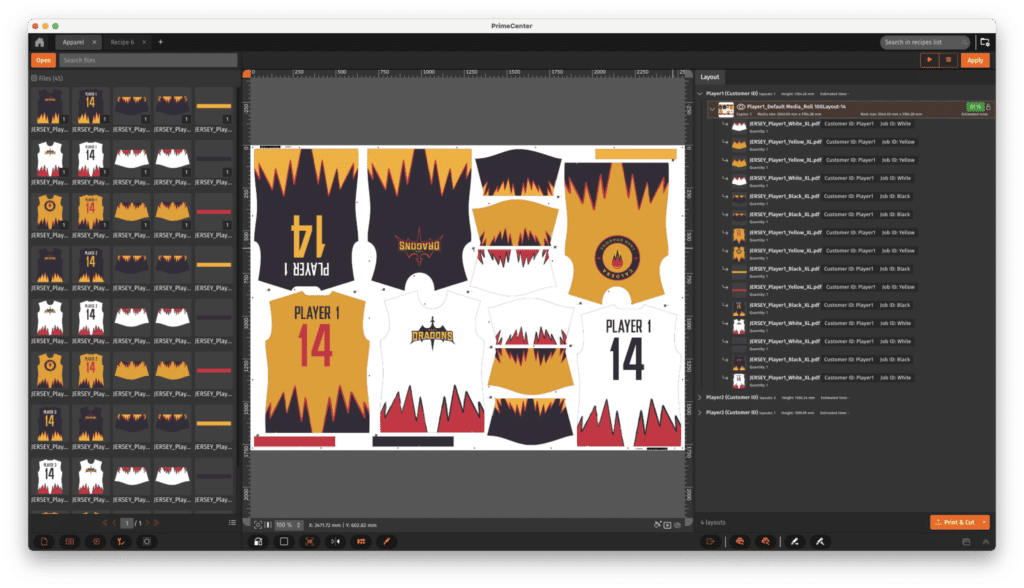
2. Automatically nest, sort & group files
There comes Nesting, with advanced features to sort and group files according to specific metadata. PrimeCenter is great for true-shape nesting, but also enables you to group different projects together. In the example mentioned above with both light and dark jerseys, PrimeCenter can build 2 separate layouts, one for the dark jerseys and one for the light jerseys.
You can apply other parameters at this stage– for example, to keep all the jerseys in order of size. These instructions then pass on to the printing and cutting stages. The same jersey colors would emerge together, and the sizes would be in order for the final finishing, resulting in significant time and media savings.
3. Add annotations and cut marks
With its array of cutting options, PrimeCenter generates PDF files tailored to your production tools and constraints. You can add positioning marks, camera marks and annotations.
Adding optical codes is great for file traceability across your production.
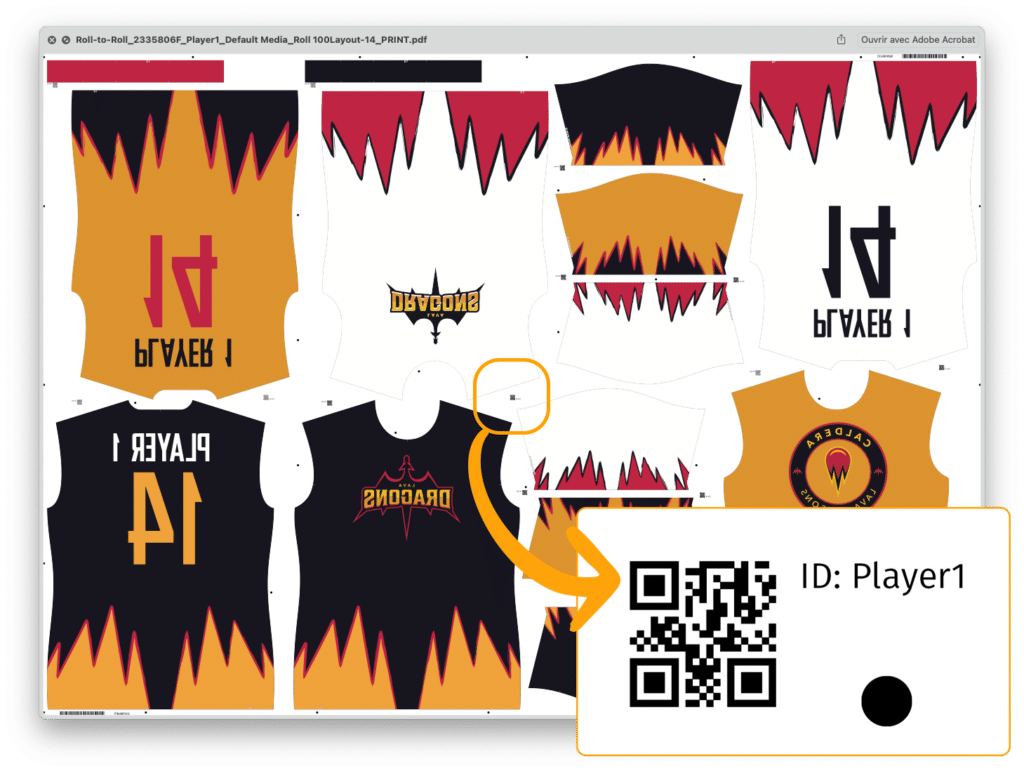
4. Export print & cut files for sublimation
Once you’re happy with your files, you’re ready to export them for production.
Here, we export a Mirrored print file for sublimation printing (depending on the fabric, you might want to position the pieces to follow the grain direction of the fabric), and a standard cut file with the contours.
We also export a PDF report which includes all the files, the number of copies, the size, media and metadata. This document will help us inspect our layouts before production and save time tracking our various jobs!
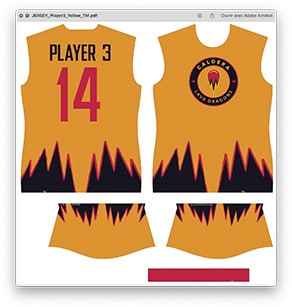
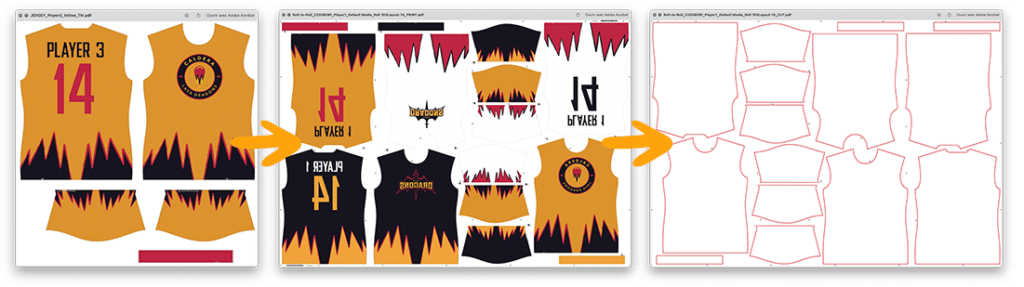
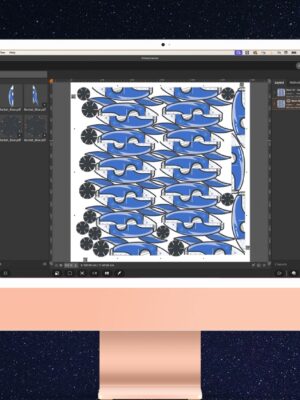
Original jersey file
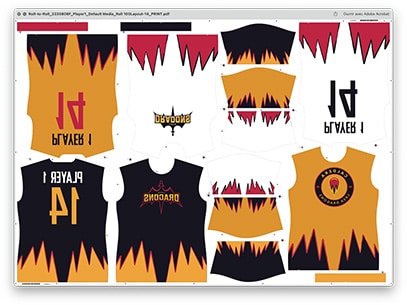
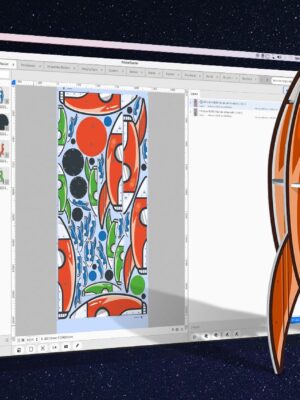
Print file generated by PrimeCenter
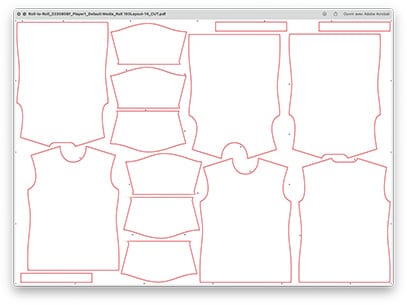
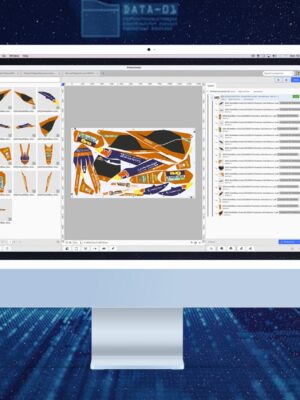
Cut file generated by PrimeCenter
5. Print, heat, cut and sew!
Time to assemble our jerseys!
Thanks to the layouts that we prepared and sorted in PrimeCenter, keeping all the jersey pieces grouped together for the finishing stage is much easier.
Save time and deliver all your jobs on time!

From the start of the workflow to the finished garment, PrimeCenter can ensure the fastest and most cost-efficient production processes. And by removing human error and saving labor time, the production team becomes both more effective and more efficient in everything they do.
What’s not to love about that? Now it’s just up to the team to win the trophy!
Go further with PrimeCenter
Click here to learn more about PrimeCenter, or contact us to book a demo with our workflow specialists!
More tips to streamline your workflow
Discover all our tips & tricks to save time, cut down media waste and increase your productivity.


Subscribe to our Newsletter
Stay in touch with our latest product launches, news and events.
Related articles