How to prepare print & cut files for your Point-of-Sale displays
June 06, 2024
What is POS?
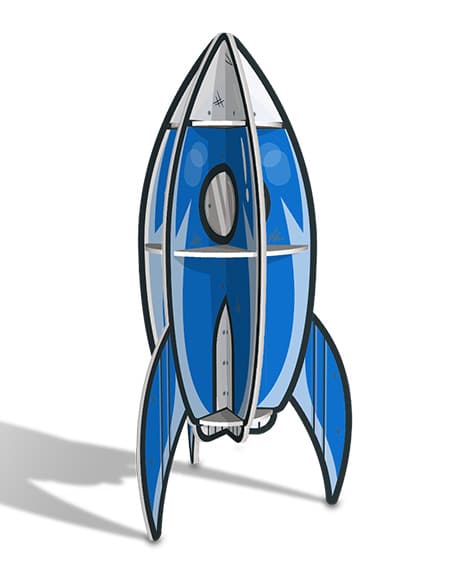
Point of Sale (POS) displays are increasingly popular in large-format applications. The primary goal of POS displays is to boost sales by drawing customer attention within stores. It is a powerful marketing tool to promote a new product or a new brand. Common examples of POS displays include posters, banners, rollups, beach flags, and advertising arches, and they can be made from a variety of materials such as metal, wood, and corrugated cardboard.
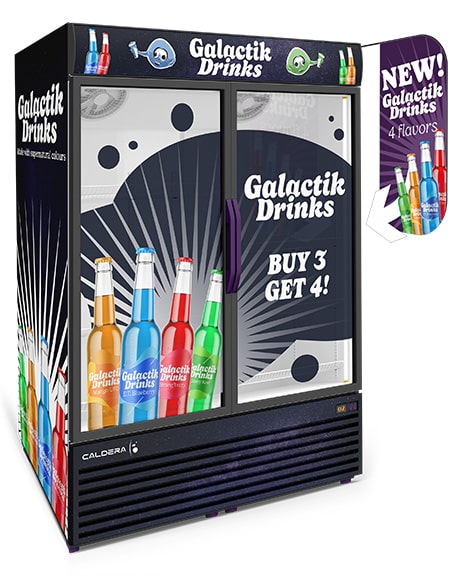
Printing POS displays is not without its challenges. The designs are often intricate and eye-catching, and the colors must match those of the brand it will promote. And since they are typically produced in short runs, POS displays are often customized to match a specific need.
In this article, we will guide you through some tips and tricks to streamline your production of POS displays. You will learn how to prepare files more effectively to save time in production.
How to facilitate your production of POS displays
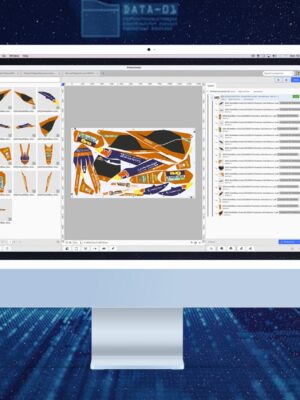
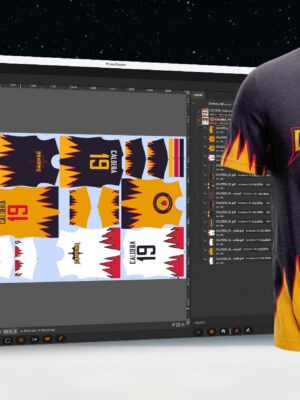
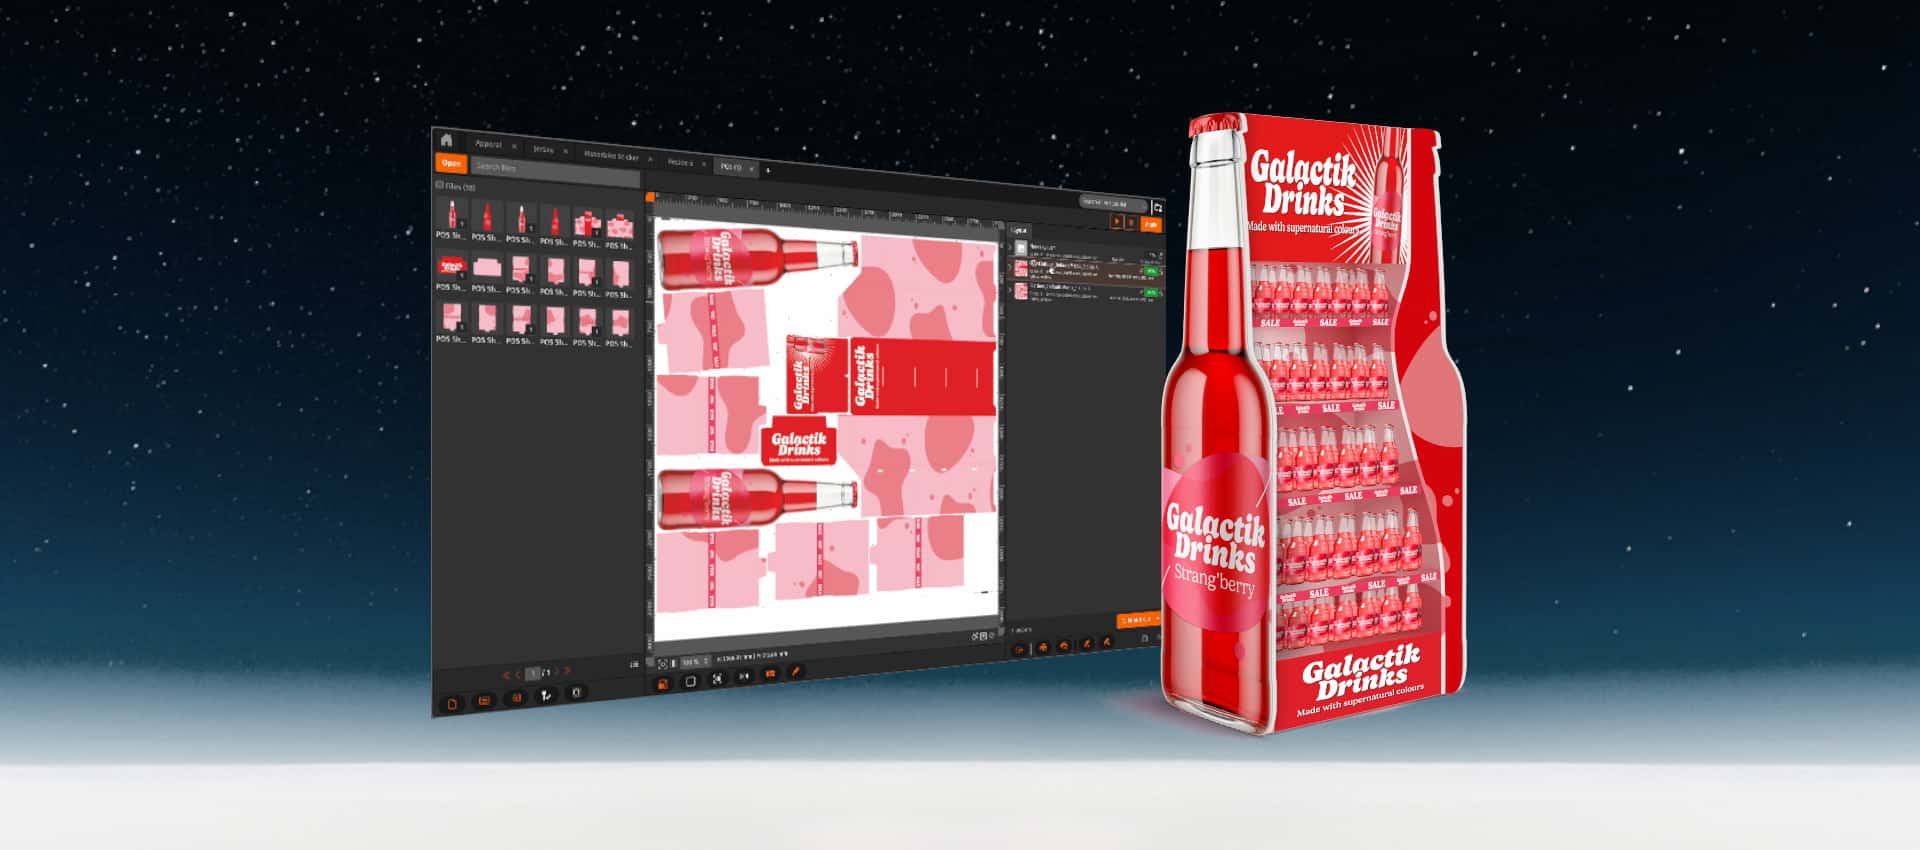
PrimeCenter is a prepress software designed to simplify the preparation of print & cut files. Located upstream of your production, PrimeCenter checks, corrects, sorts, groups and prepares files for production. It helps print service providers to cut down errors, reduce media waste and to increase their productivity.
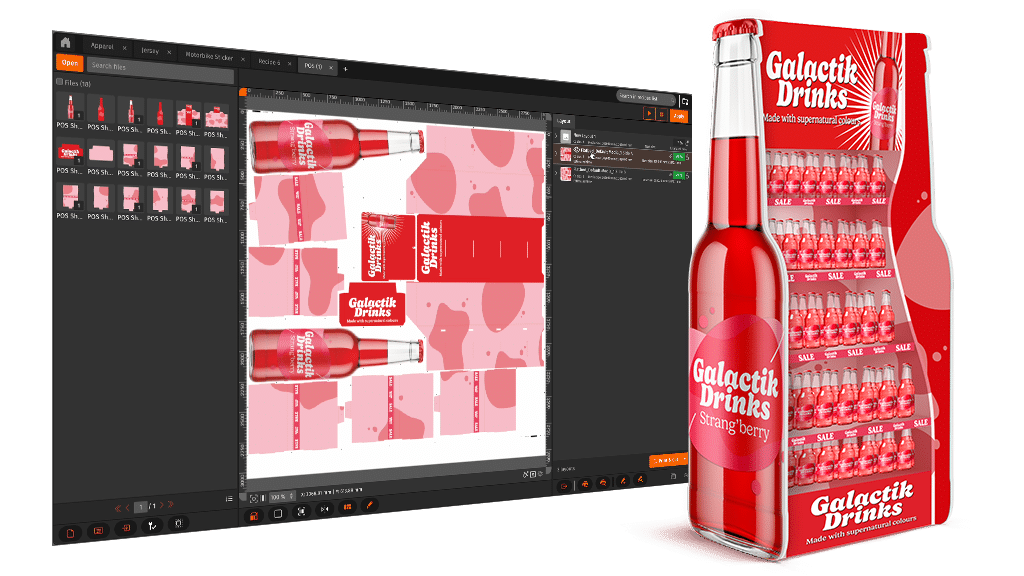
Used properly, our prepress solution is the key to streamline your entire production workflow. Once your POS files have been approved by your customer, you can import them to PrimeCenter to prepare them and make them ready for printing, cutting and assembling.
In just a few steps, PrimeCenter transforms your proofing files into ready-to-print and ready-to-cut layouts!

Use Case – How to prepare POS Display files with PrimeCenter
1. Configure your files for double-sided printing
Using PrimeCenter always starts with an input hotfolder to import the files into the software:
- We import our multi-page PDF files with the two sides of the display shelf
- We enable double-sided printing in the corresponding module
- And we select True-Shape Nesting.
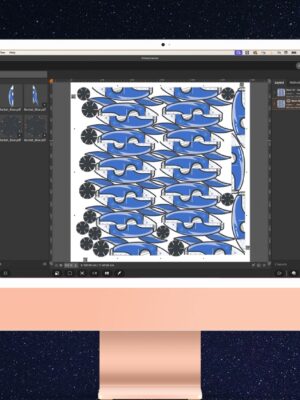
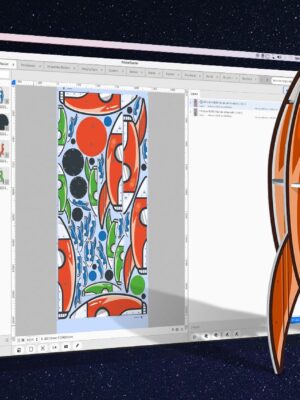
With these settings, PrimeCenter will automatically generate the most optimized layouts for both sides of your shelf (Side A and Side B). The parts are properly nested and mirrored for double-sided printing, which will save you a significant amount of time in production.
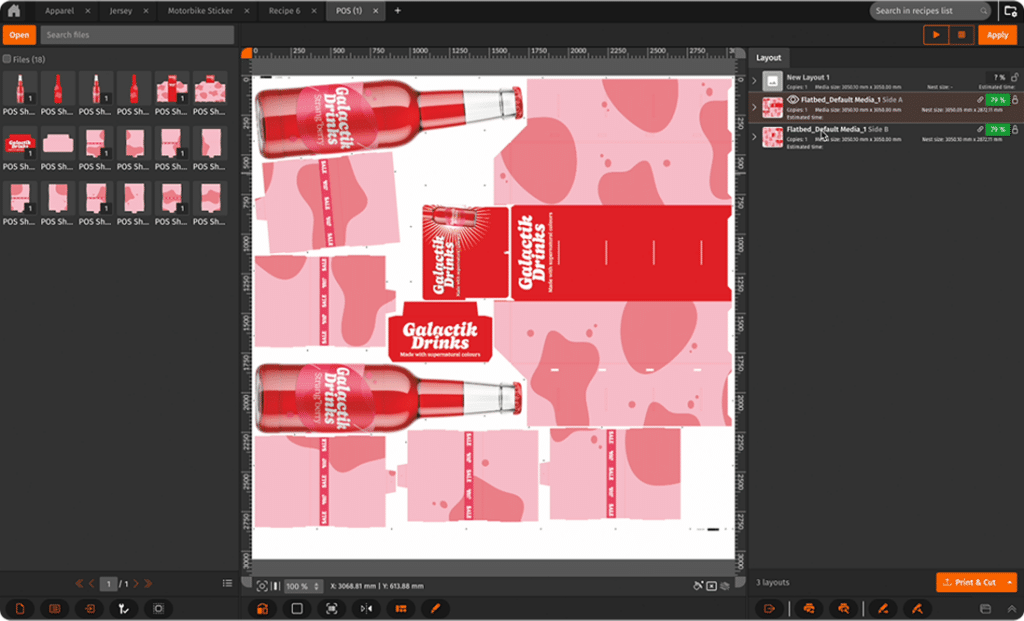
Generated layout for Side A
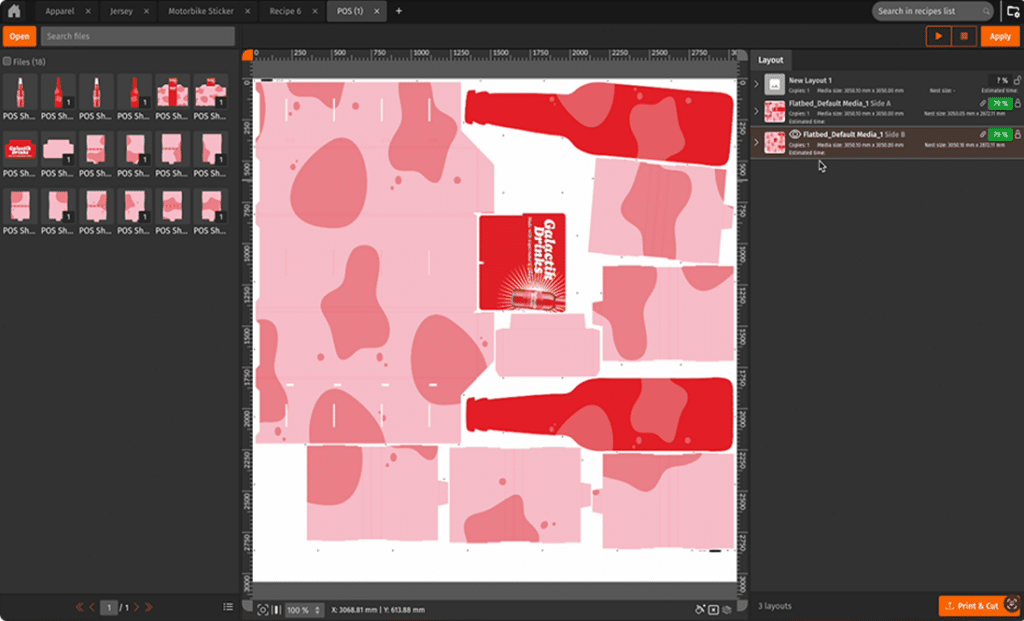
Generated layout for Side B
2. Prepare the files for the cutting stage
To make sure the files are ready for cutting, we add barcode annotations and cutter registration marks. Given the media we will be printing on (cardboard), we also add a white underlayer for the annotations and marks. This will make it easier for our cutter to automatically detect and read the marks on the media.
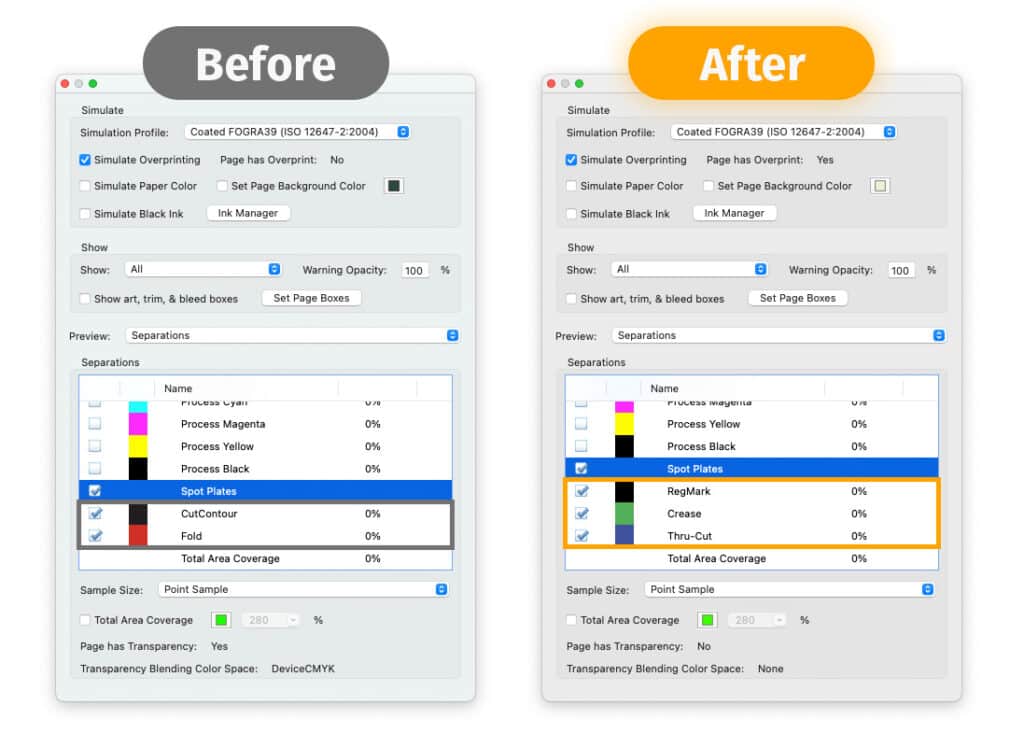
Additionally, the names of the cutting vectors in the original file do not match the names our cutting table needs to operate properly. But we can fix that automatically in PrimeCenter!
- First, we add the current names of the cut vectors in the list of recognized names in PrimeCenter (so that the software can detect and modify them afterwards)
- Then, we convert these names into the ones that we need for cutting (in this case, Crease and Thru-Cut).
In the cut file generated by PrimeCenter, the cut vector names can now be detected by our cutting table! This step is crucial to avoid mistakes and ensure accurate results.
3. Export print & cut files
Once we’re happy with our files, we can export them for production. Here, we export our mirrored print files, and standard cut files with the contours.
We also export a PDF report listing all the files, the number of copies, the size, media and metadata. This document will help us inspect our layouts before production and save time tracking our various jobs!
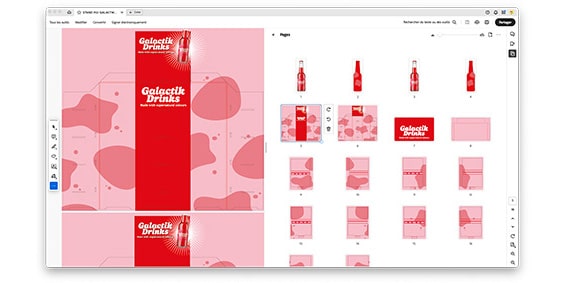
Original file
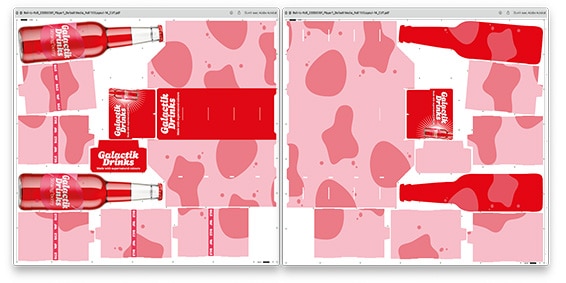
Mirrored print files generated by PrimeCenter
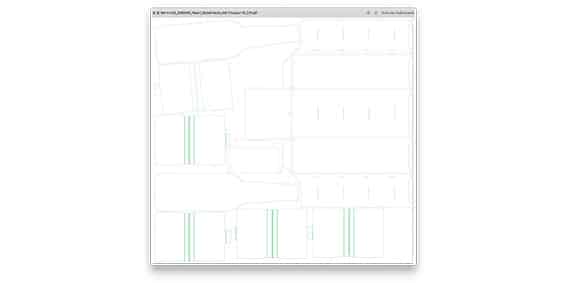
Cut file generated by PrimeCenter
4. Time to produce the POS!
Now that your files are thoroughly prepared, you can save time during the printing, cutting and assembling steps and make sure your deliver all your jobs on time.
More tips and tricks for producing POS displays
Want to improve your production of banners, roll-ups, posters and flags?
In this video, we show you how to easily prepare files for double-sided printing and give you some tips on how to match colors on different media and printing technologies.
Get your free trial
Click here to learn more about PrimeCenter, or contact us to book a demo with our workflow specialists!
More tips to boost your workflow
Discover all our tips & tricks to save time, cut down media waste and increase your productivity.
Related articles
