How to Use DTF Presets in Caldera Direct-to-Film
February 25, 2026
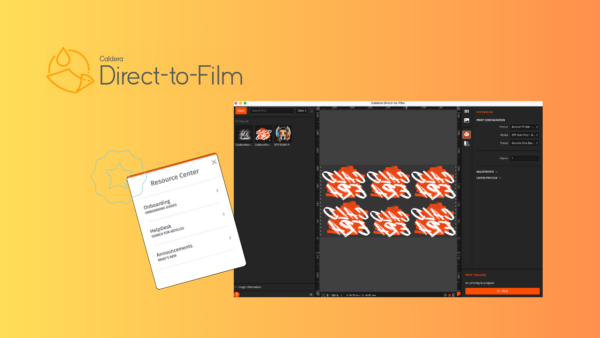
DTF presets and how you can use them in Caldera Direct-to-Film
In Direct-to-Film printing, it’s always very tedious work to find the right configurations. You go through multiple challenges to reach a setup you think is right for your printer, media, and output. However, even when you have the right combination, you still end up with endless mistakes and reprints. You try different configurations over and over to get to the final result. What do you end up losing? Time and valuable resources.
That’s why Caldera has been working on integrating ready-to-use configurations into Caldera Direct-to-Film. They’re called Presets. In this article, continuing our content tradition, we’ll talk about presets and how they can help you achieve the workflow you’ve always found so difficult to set up.
What are Presets?
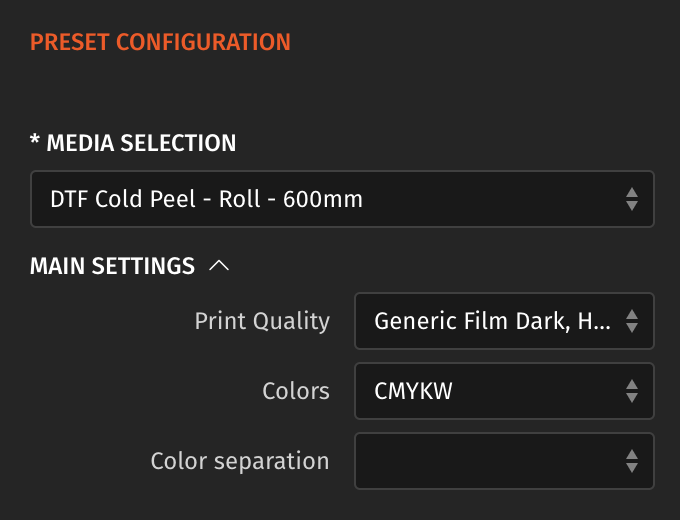
Before diving into the technical details of DTF configurations, let’s start with a few simple definitions. You can think of presets as a set of rules you can use to improve your printing.
Normally, these rules are hard to figure out because you need a deeper understanding of your printer, the media, and the other devices you’re using.
It also requires solid knowledge of color management. You often find yourself stuck thinking, “I need to learn more,” or searching for someone who knows more about DTF printing.
Presets can act as your built-in knowledge base. You don’t have to spend countless hours trying to determine which rule applies to what. You simply select your preset and apply it. It automatically sets the right configuration for your workflow.
Caldera Direct-to-Film and Presets
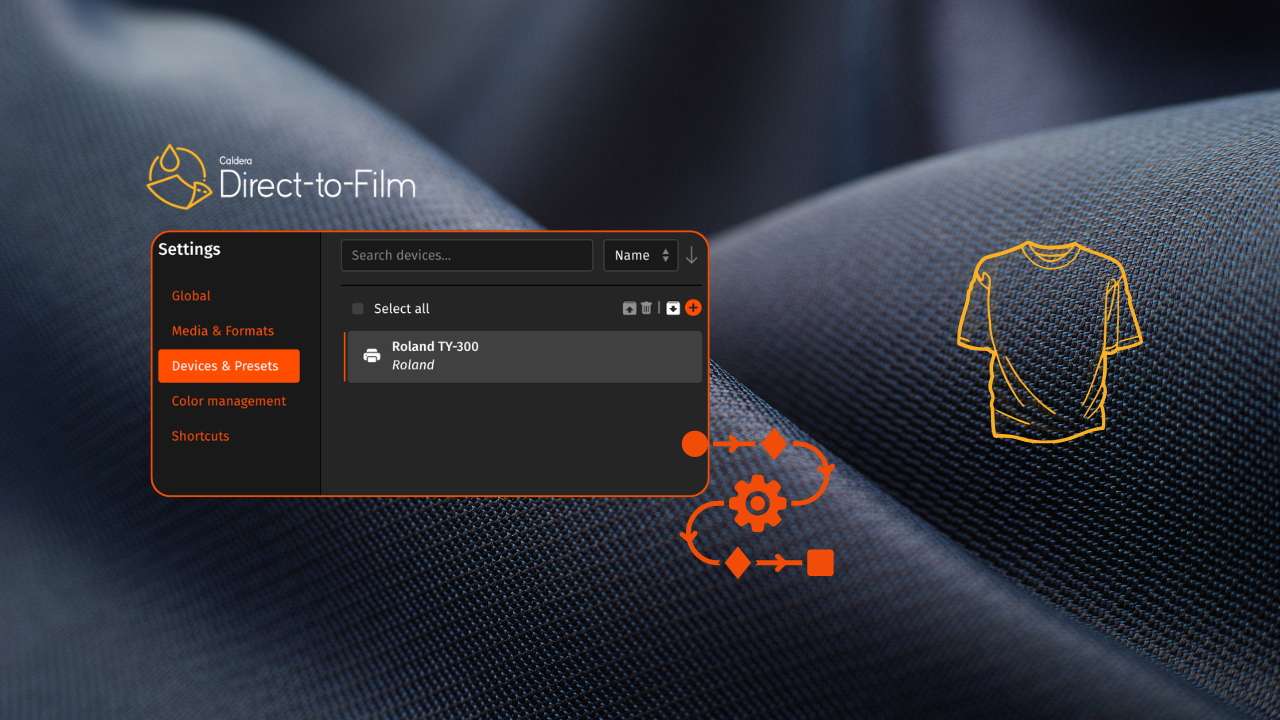
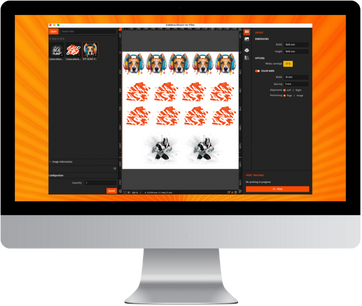
Caldera Direct-to-Film offers ready-to-use presets that you can use based on the printer you have. They’re instantly available for download through CalderaDock.
Caldera created DTF presets to help you improve your entire process. It’s now easier to configure your setup without having to search around for more information. The process is simple: select, apply, print.
How presets work in Caldera Direct-to-Film
To use the presets available in Caldera Direct-to-Film, here’s how to download them through CalderaDock:
- Go to CalderaDock (Caldera’s software management platform)
- Go to devices, and type the name of your driver
- Launch Caldera Direct-to-Film
- Upload your presets and start printing!
This way, you can start using your preset while saving a significant amount of time. It’s also possible to manually manage your presets and create them from scratch. We will introduce you to this option in our next DTF article.
However, that depends on your current goals and how quickly you want to move forward. Caldera’s ready-to-use presets are built for printshop owners and businesses who want to go faster. The capacity to download presets and upload them to Caldera Direct-to-Film improves your production flow, allowing you to focus on growing your business in the market.
Looking for simplified DTF software that streamlines your entire workflow and improves color management?
You can contact us to learn more about our DTF solution or book a demo to see its advantages.
Related articles