What makes Caldera DTF features the best choice for you?
March 19, 2026
What makes Caldera DTF features the best choice for you?
With the release of Caldera Direct-to-Film and its innovative interface, DTF printing is no longer as complex as it once seemed. Caldera DTF can serve as both your guide and your software for DTF production. Its interface is user-friendly, making it easy to navigate and explore the different features without confusion. You won’t find yourself stuck in an endless loop of complicated or unnecessary options.
In previous articles, we covered Caldera DTF interface, its spot color management section, and the differences between DTF and DTG printing. In this article, we’ll walk you through the details of Caldera DTF. You’ll find clear explanations of the features we offer and how they can help improve your workflow. Think of this as a beginner’s guide to getting started with DTF printing using Caldera Direct-to-Film.
White management in Caldera Direct-to-Film
Caldera DTF makes white ink management easier and more straightforward. But before explaining how it works, it’s important to understand why it’s necessary.
White ink management is a key step in DTF printing because it directly affects the final result. Many printers face issues with white ink, such as dull or barely visible colors.
In simple terms, you can’t achieve accurate, vibrant colors without a properly managed white layer. This layer is applied before the design and colors, acting as a base and protective foundation that helps your colors stand out and produce the best possible result.
However, certain requirements must be followed, and the white layer needs to be applied accurately.
Caldera Direct-to-Film automatically generates the white ink underbase with a high level of flexibility, allowing you to focus on printing rather than manual file preparation.
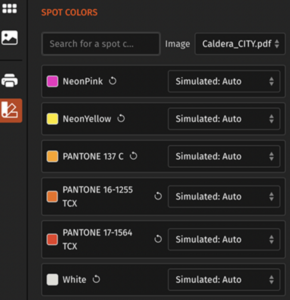
Automatic spot color conversion
We often hear about automation, but it can sometimes be hard to understand what it really means in practice. What kind of automation are we talking about? And is it even possible in this context?
Spot colors remain essential in printing. Printers regularly work with multiple files that include these colors, and they need to reproduce them accurately during the printing process. Traditionally, this is done using software like Adobe Illustrator.
Caldera Direct-to-Film includes an automatic spot color simulator, allowing you to reproduce your colors directly within the software without relying on third-party tools. It also gives you the flexibility to fine-tune colors according to your specific needs.
Remove and replace colors
To achieve a softer, more flexible feel in your prints, it’s important to minimize the amount of ink being applied. Using less ink not only improves the texture of the final result but also helps maintain the natural feel of the fabric, making the print more comfortable to wear.
A common issue arises when a color that is intended to remain transparent ends up being printed. When this happens, multiple layers of ink are unintentionally stacked on top of each other. This can make the print feel thicker, heavier, and less flexible, reducing the overall quality and durability of the finished product.
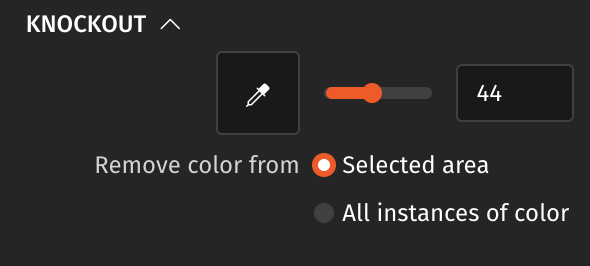
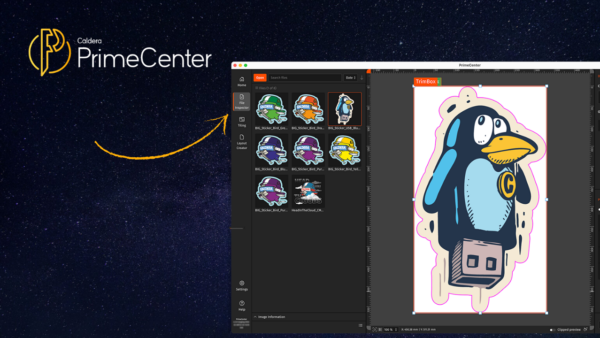
To avoid this, the knockout tool in Caldera Direct-to-Film provides a simple and effective solution. It allows you to remove a specific color from your design and replace it with transparency, ensuring that unnecessary ink layers are eliminated. This helps maintain a cleaner print and a softer finish. The process is straightforward, you just need to select the color you want to adjust, and the tool takes care of the rest, making it easy to optimize your prints for better results.
Let yourself be guided by Caldera DTF
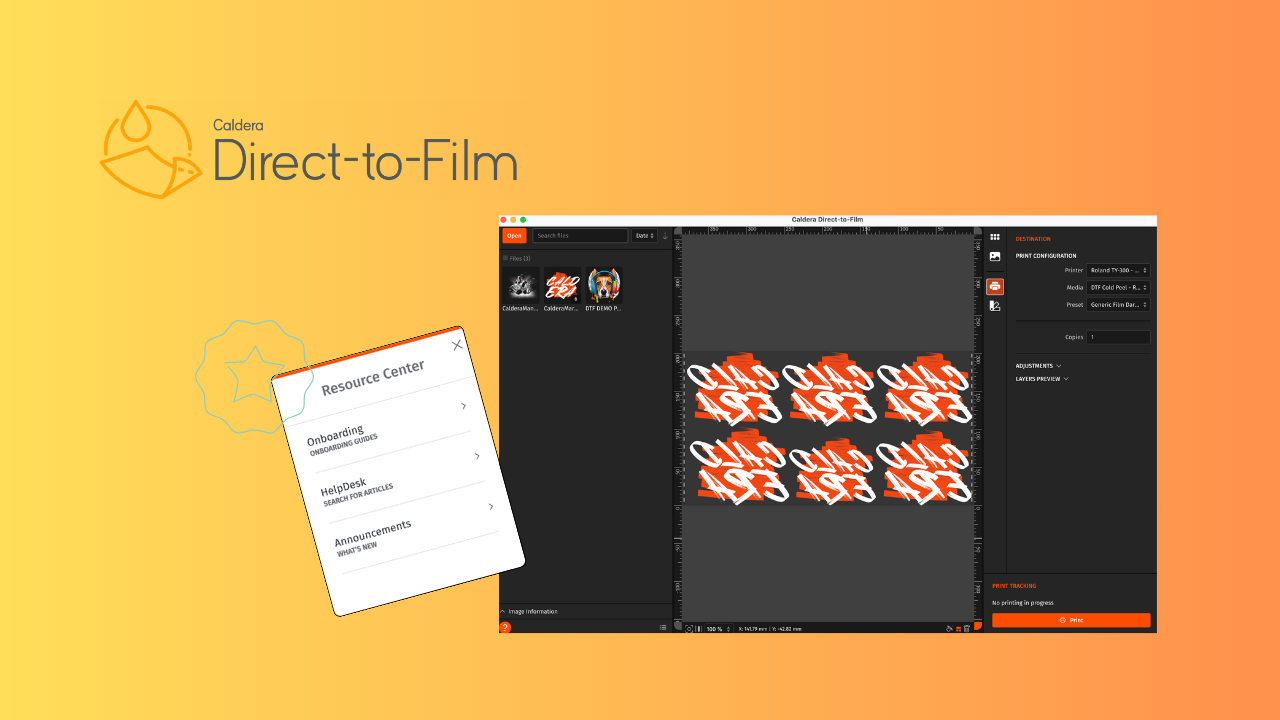
In addition to the tools mentioned above, Caldera Direct-to-Film includes built-in guides designed to simplify your workflow. These guides walk you through each step of the process, helping you build confidence as you go. They also include onboarding materials with more detailed information about the software’s features.
You’ll find an introductory guide to the interface, structured in six steps that take you through each stage of the process. It shows you where to import images, how to use them in the studio, how to configure settings in the Modules Panel, and how to proceed with printing. There is also a dedicated guide on auto-alignment and how to use it effectively within the studio.
Start your DTF journey today
You can book a demo to explore Caldera Direct-to-Film’s features and start printing your first films. For more information, feel free to contact us.
Related articles