Why do you need the Knockout Tool in DTF Printing?
May 27, 2025
In DTF printing, every printer knows how satisfying it is to create soft prints that don’t feel heavy. To accomplish this, users need to follow some essential instructions.
One key technique is to use the color Knockout Tool. Many RIP (Raster Image Processor) software solutions for DTF printing, like Caldera Direct-to-Film, include tools that simplify this process.
In Caldera Direct-to-Film, you can use the knockout tool for last-minute adjustments and for a softer feel.
This procedure can also be initiated in Adobe Illustrator and later fine-tuned in Caldera Direct-to-Film according to your printing needs.
What is color knockout in DTF printing?
It is a known procedure in DTF printing that allows you to remove a color and replace it with transparency. In this way:
- You will use less colors by using the t-shirt’s original color.
- This reduced layer of ink will contribute in having a softer feel on your transferred designs.
A real-life scenario – When can I use the Knockout Tool

If the t-shirt you’re printing on is red and your design has red on it. You can knockout the red color from your design since your t-shirt has the exact same red reference. This will:
- Allow you to the use the background of the t-shirt as part of your design.
- Allow you to reduce your ink use and prevent color layers from overlapping.
- And all this will make your design feel softer.
How to do it effectively?
Let’s say you have a black t-shirt and your design has a black background. You don’t want to use more black inks while having a black background that you can use effectively.
- Prepare your design: Make sure your artwork is DTF-compatible (proper resolution, color separation, etc.).
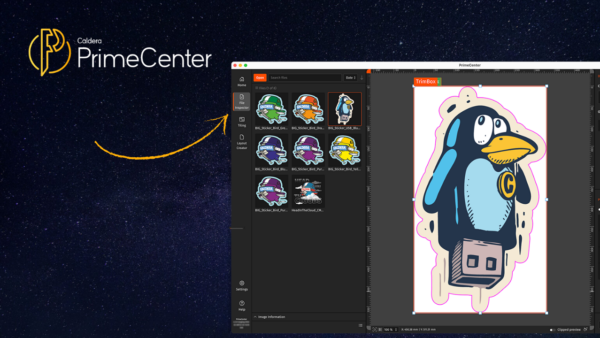
- Black or color knockout: Once your design is ready, import it into Caldera Direct-to-Film. Now, you can remove the black tones on your design by going to the knockout tool in the image module found in the modules panel.
- Select your image in the studio.
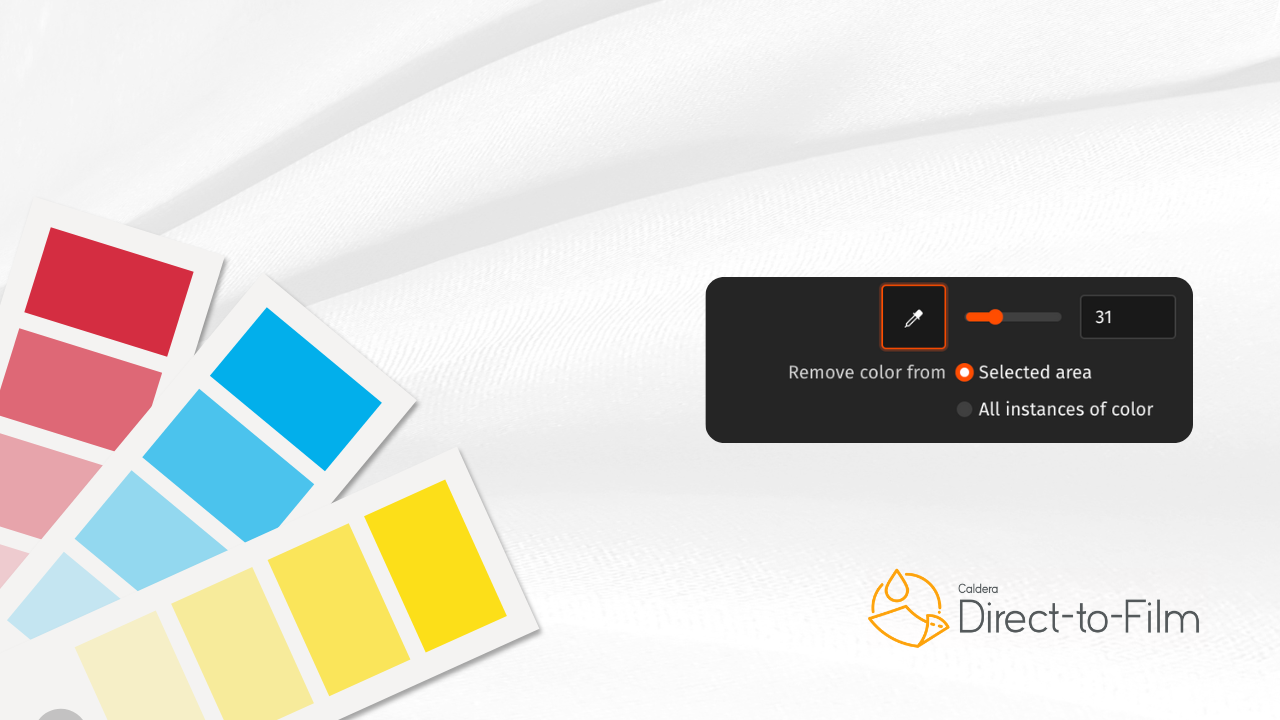
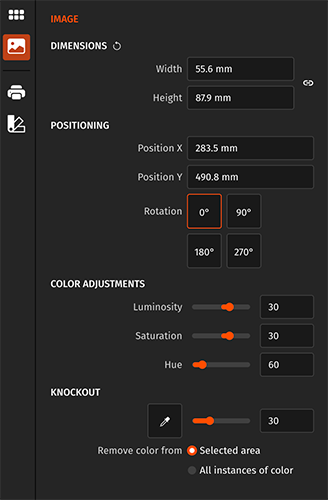
- Click on the color of the image(s) that you want to replace with transparency.
- You can also use the tolerance slider, which allows you to broaden the color range to remove.
- At the bottom, you can also choose to remove the color from all instances of the same color or only from the selected area.
- Once you are done, don’t forget to click Confirm to apply the changes (or Cancel if you are not satisfied).
- Now, your design is ready.
Related articles