What is DTF Printing? – Step By Step Explanation
January 28, 2025
Are you looking for the best printing method that will help you grow your T-shirt printing business? Or you have just purchased a DTF printer and a DTF software, but you’re a bit confused? Good news, it happens to all starters in DTF printing.
How many times have you heard of the word DTF Printing? Direct-to-Film printing or DTF printing is the best solution to expand your garment products. It is one of the most accurate and flexible printing methods that the printing industry has known. It works great when paired with a DTF software like Caldera Direct-to-Film and a DTF printer. You’re still confusing DTF with DTG printing? No worries, our article explains what does DTF mean in printing.
With DTF printing, you can print on all kinds of fabrics, like nylon and polyester. You can even print on specialty fabrics that other methods can’t handle.
Whether you run a t-shirt printing business or create promotional products, DTF lets you print clear designs on almost any fabric, all by using DTF transfers.
Using DTF printing with a DTF RIP software and a good DTF printer helps you get better results.
What is Direct-to-Film Printing?
DTF Printing (Direct-to-Film) puts designs on t-shirts or other materials. Please note that this method requires a special DTF printer with DTF inks. It works by:
- Printing the design on a special PET film (DTF transfers).
- Then, using an adhesive powder and a heat press, you can transfer the PET film to the textile.
Tips: If you do t-shirt printing or another business in garment printing, using a DTF RIP software can make this process easier and more accurate. For example, Caldera Direct-to-Film helps with color management. This makes sure you get accurate dtf prints—no matter what fabric you’re using, like polyester or cotton blends.
A DTF RIP software speeds up the printing process and helps perfect every detail of the design. It’s a must-have tool for businesses to create DTF prints that are clear, long-lasting, and feel soft to the touch.
What you Need – Your DTF Checklist
Before you start, you must have these for DTF printing:
- Get a printer for DTF printing
You got them, right? Now, you can start your t-shirt printing business
How Does DTF Printing Work?
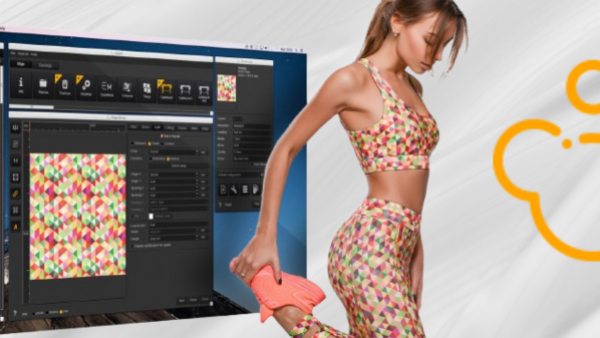
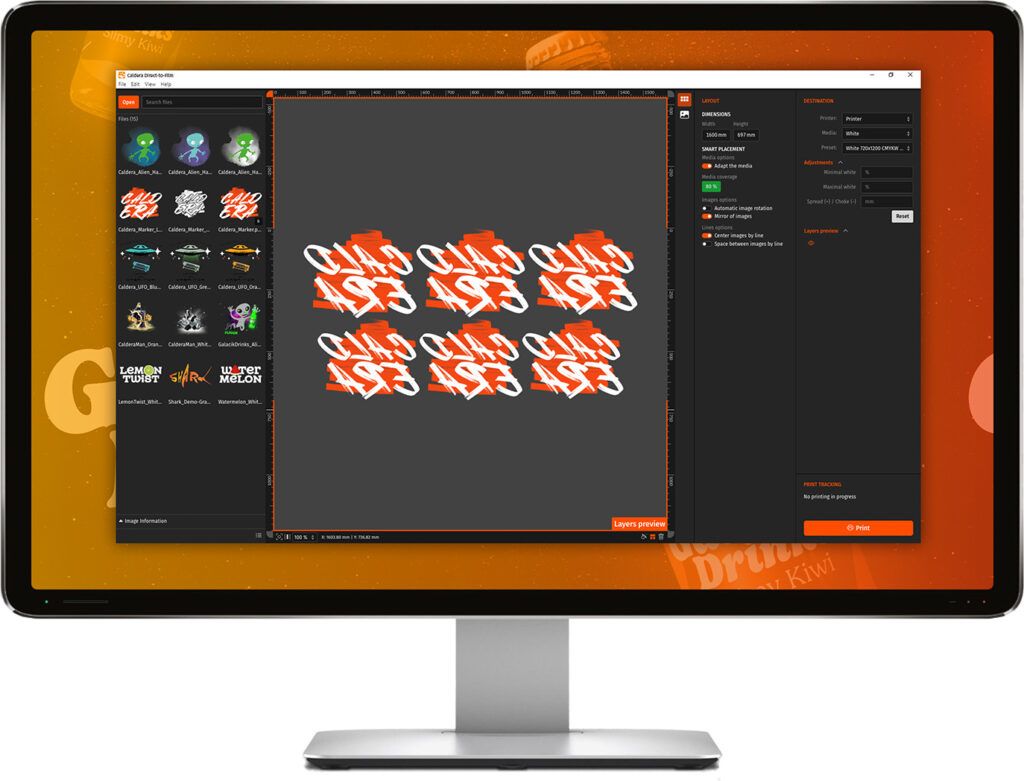
DTF (Direct-to-Film) printing begins with file preparation in the DTF RIP software.
- Once your design is ready, it’s printed onto a special transfer film (DTF transfers).
- The PET film then goes through a heating process that activates the adhesive.
- In this way, the design is ready to be transferred onto the textile.
Using the right DTF RIP software and DTF printer makes DTF printing easier and ensures you get perfect DTF transfers. In the next sections, we’ll go over each step of DTF printing so you can better understand how it works.
File Preparation for DTF Printing
DTF (Direct-to-Film) printing begins with preparing design files ready.
- Create your design using any graphic software like Photoshop or Illustrator by Adobe.
- You DTF design needs to be high resolution and in formats such as: PNG, JPG, EPS, or PSD.
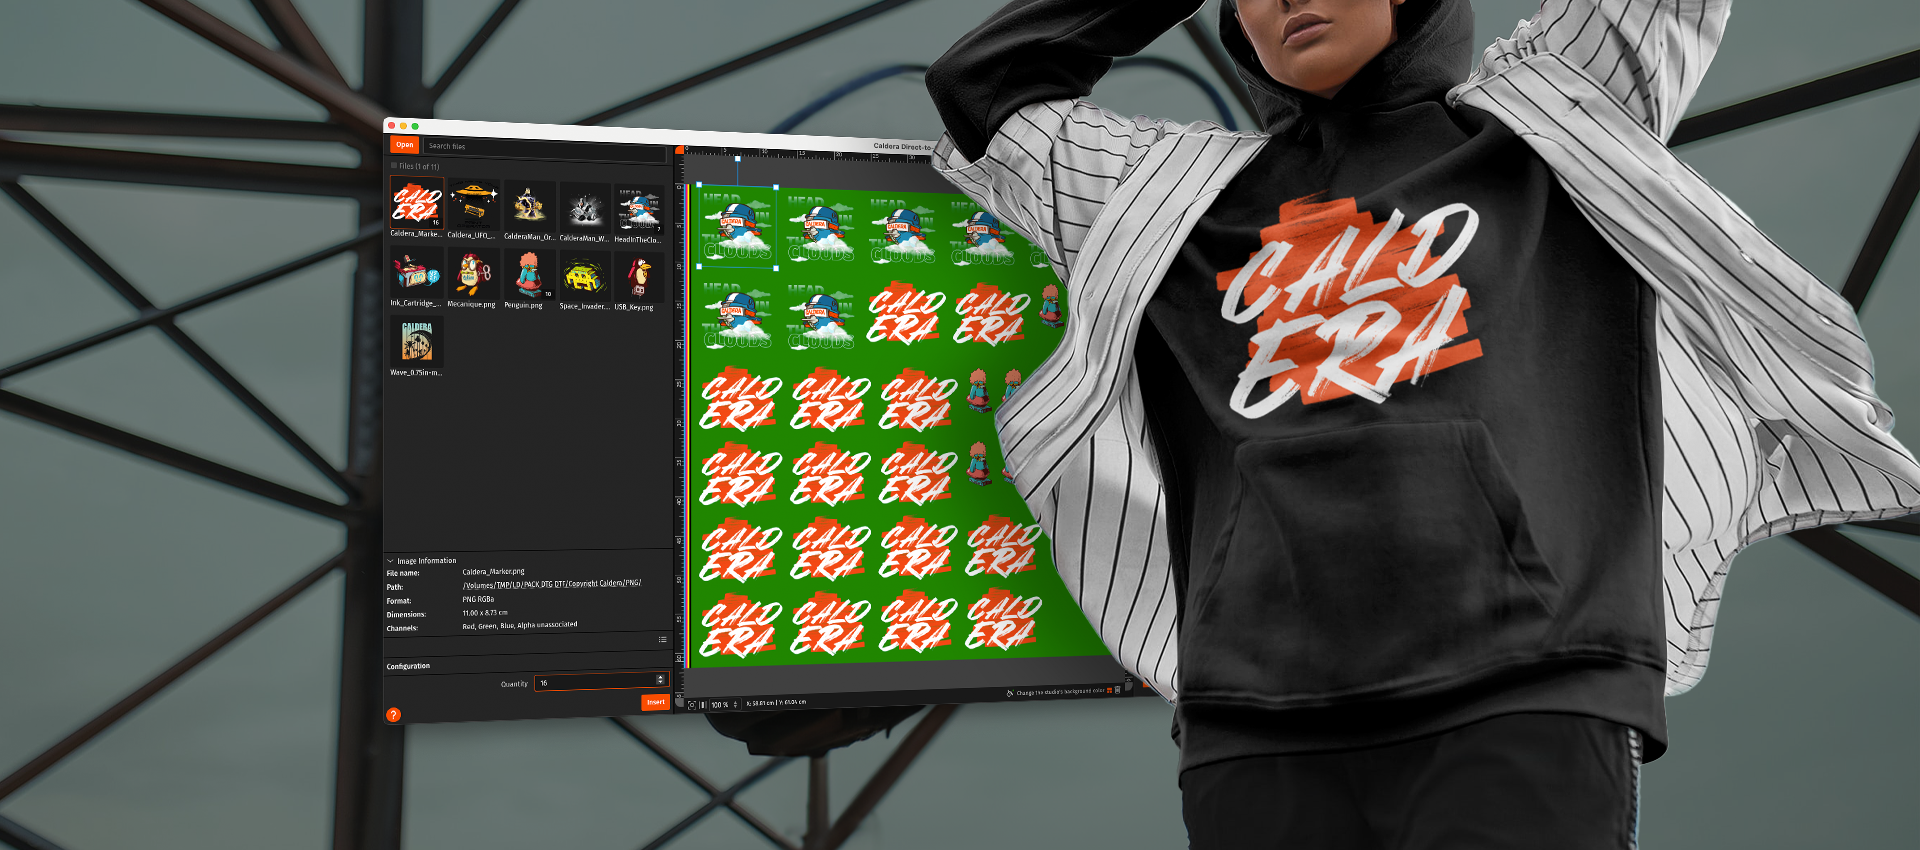
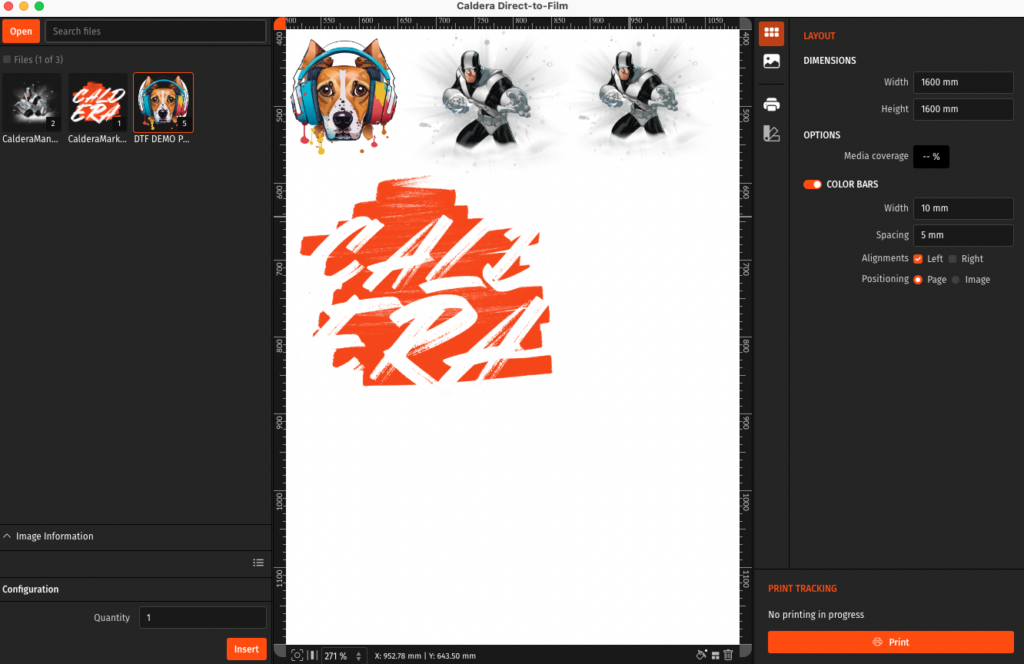
- You upload your design into your RIP software.
- Once your files are loaded, you add a layer of white ink over the entire design.
- For dark fabrics, make sure your design includes a layer in the background layer. It’s the ultimate secret to improve your DTF prints. Your
Can I print DTF without white ink? White ink is essential for DTF printing. Let’s say you want some parts of your design to look brighter (the ones requiring white ink), without the white ink, these parts will look so boring and faded. So please, try not to forget your white ink in DTF printing.
How to Apply the White Layer/Underbase?
- With a knockout tool, remove the areas that you want them to be printed in white
- Adjust white choke and density.
After applying the white layer, you print the design onto a special PET film, designed to work with DTF.
- This film will hold the design.
- It needs to be high quality so that the ink sticks properly and the design transfers smoothly onto the fabric.
Once the design is printed on the PET DTF film, you can use the adhesive powder and heat to create a lasting transfer onto the garment.
Applying Adhesive Powder
Next, adhesive powder is sprinkled evenly onto the printed design while the ink is still fresh and not completely dry. This creates a strong adhesive layer. It’s important to spread the powder evenly across the design to avoid clumps, as this ensures a smooth transfer.
After the adhesive is added, heat is used to activate it. The printed PET film is either placed in a drying oven or pressed with a heat press. The heat melts the adhesive, which then binds the ink to your PET DTF film.
This will make your DTF print solid and ready for transfer.
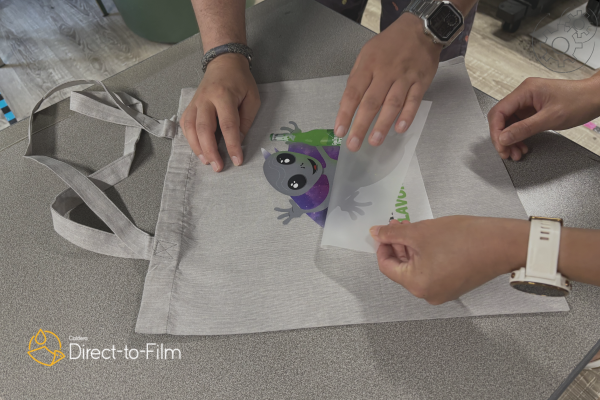
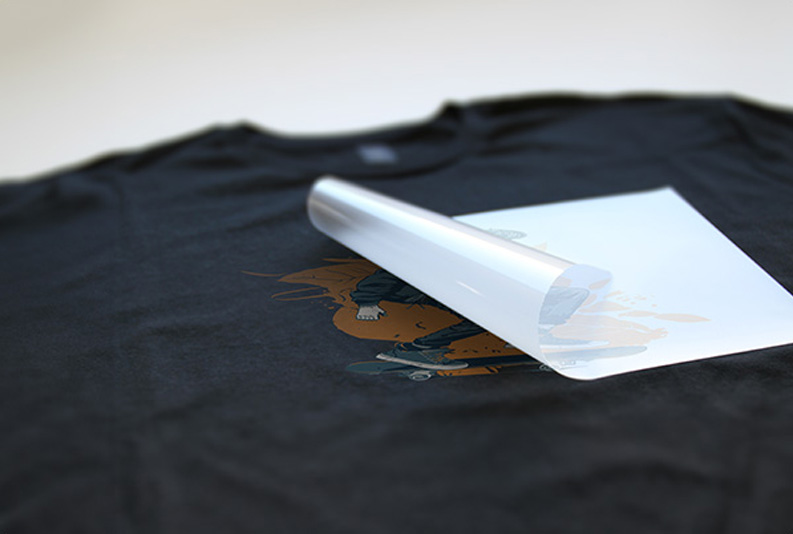
Film Removal and Final Pressing
After transferring your design onto the textile, you can remove the PET DTF film. First, let the transfer cool down a bit. Then, begin peeling the film from the corner with the most ink, making sure to do it very carefully. It’s important to peel off the film carefully while it’s cold to avoid leaving any extra adhesive or residue on the fabric. Doing this step gently will give you a clean DTF design.
The garment is ready for the Final Pressing. The final press helps make sure the ink sticks permanently to the fabric, making the design more durable. It also improves how well the design resists to washing, wear, and other factors.
This means you will be giving your customers long-lasting DTF prints. Now, you can start with packaging and shipping your DTF print.
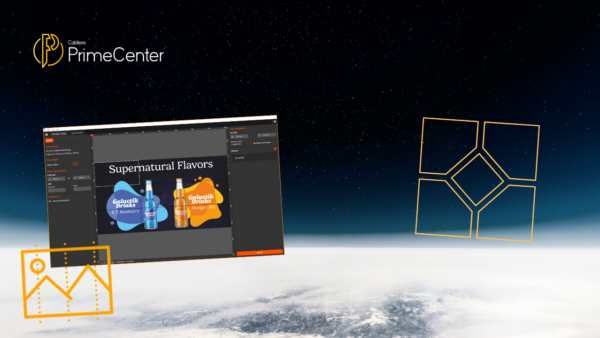
In the case of multiple designs and DTF workflow automation, you will need a prepress automation software like Caldera PrimeCenter and a cutter like Secabo DTF MultiCut Pro.
Is Direct-to-Film Printing Suitable for Beginners?
DTF printing is a great option for beginners, but it really depends on the DTF RIP software you are using. Caldera Direct-to-Film makes things easier by offering just the features you need for DTF printing. Therefore, you will not be obliged to learn features you won’t use.
Caldera designed its software to be easy to use. It has an intuitive interface that simplifies DTF setup and printing. It also includes self-training guides and quick access to Caldera’s knowledge base.
Caldera Direct-to-Film helps ensure you get consistent results that stay true to your brand. With some basic knowledge of using a DTF printer and heat press, you’ll be able to create custom designs on many different fabrics.
By choosing Caldera Direct-to-Film as your go-to software, you’ll be able to learn the essentials fast and improve your DTF prints.
You want to know more about Caldera Caldera-to-Film? Check our latest article on its easy to use DTF interface.
Contact Caldera Team
We’re excited to help you simplify
your DTF printing with Caldera Direct-to-Film.
Subscribe to our Newsletter
Stay in touch with our latest product launches, news and events.
Related articles